Welcome to Logos Red, I go by logos and:
Want to instantly deploy a cybersecurity lab?
In this post we’ll be automating and deploying an Azure Active Directory pentest lab by taking a look at Terraform and Ansible.
Tools known as IaC or infrastructure as code. Tools which can simplify the way we deploy and maintain infrastructure in cybersecurity.
This project is meant for lab usage only due to security simplification caused by reuse of passwords / SSH keys.

My Promise
This post will finally end your meaningless search for a valid answer, and you will leave with knowing how to use Terraform and Ansible.
If there are still any questions left, let me know so I can add it to help the next person who will arrive here.
My Goal
To help you improve in less time than it took me and to make sure you leave with what I promised.
I want you to join our community and for this to be a place that you revisit often.
What is Terraform?
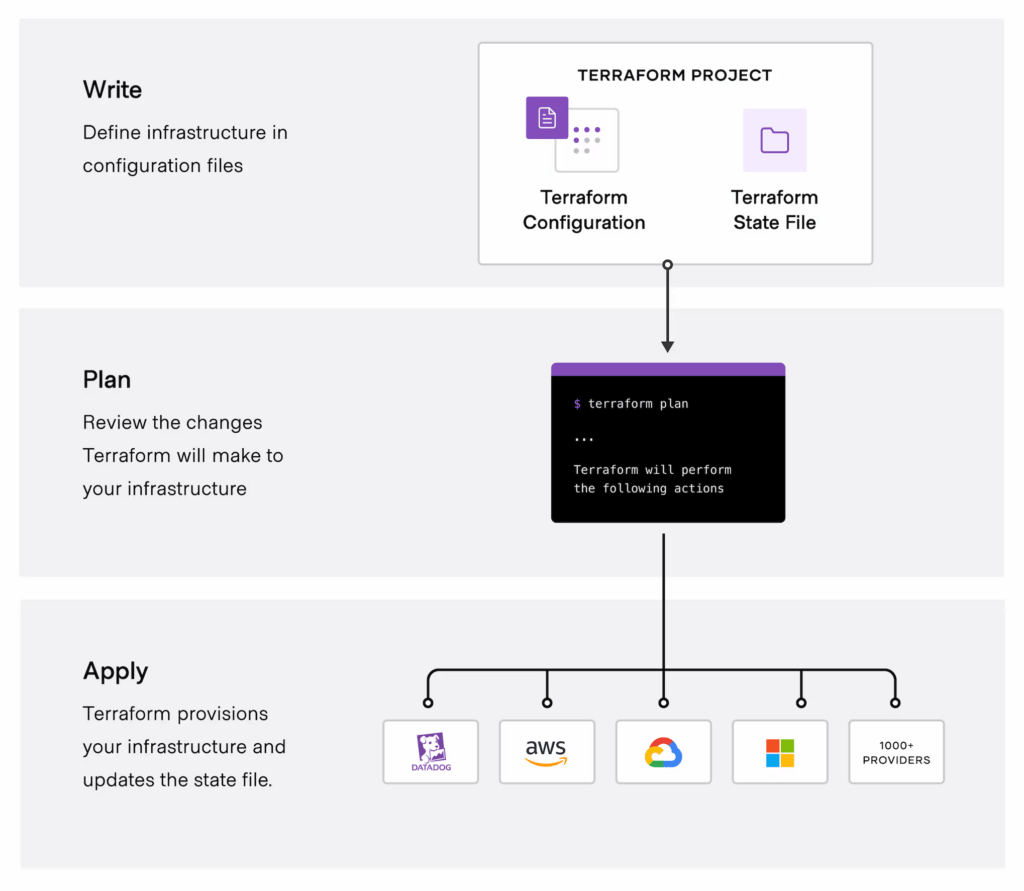
In a high level and simple overview Terraform simply lets us deploy cloud infrastructure, such as servers, workstations, VPNs all using code instead of manually using the GUI.
This helps with the following:
- Speed: Quickly provision and deprovision cloud infrastructure
- Efficency: Keep an organized and structured view of the infrastructure
- Reusability: You can easily reuse the same code in different environments with different teams
These traits can be seen really well with how long it took to simply provision a Linux server in my How to Build A Secure Cloud VPN with AWS EC2 and OpenVPN guide.
Installing Terraform
Installing Terraform is as simple as using your package manager or grabbing the binary directly:

Next we need the azure cli to authenticate, to do so use your package manager and install the azure cli
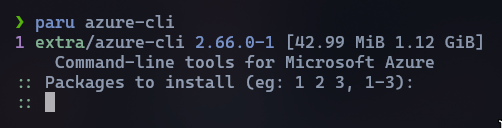
And then type the following to log in:
az login
And now we will create a contributor account that Terraform will use to make changes based on our behalf:
az ad sp create-for-rbac --role="Contributor" --scopes="/subscriptions/<SUBSCRIPTION_ID>"Where <SUBSCRIPTION_ID> can be obtained using the following command1:
az account list --query "[].id" -o table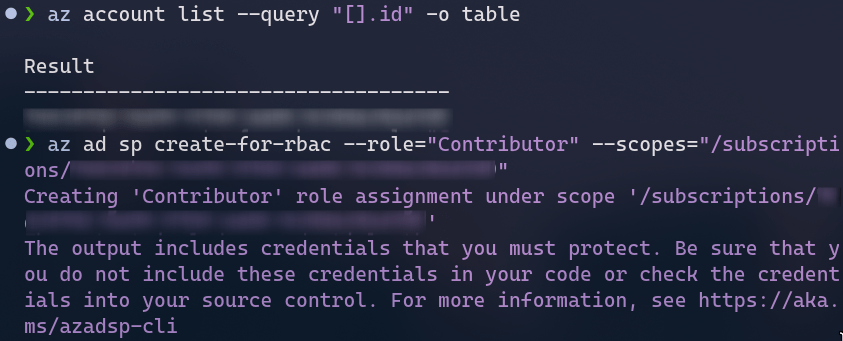
Now, taking note of the output you can set your environment variables
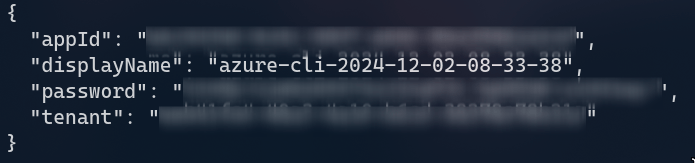
You can either enter the following directly in your terminal or you can set it in your .zshrc file or .bashrc file
export ARM_CLIENT_ID="<APPID_VALUE>"
export ARM_CLIENT_SECRET="<PASSWORD_VALUE>"
export ARM_SUBSCRIPTION_ID="<SUBSCRIPTION_ID>"
export ARM_TENANT_ID="<TENANT_VALUE>"
And now you should be able to use Terraform.
Deploying an AD lab using two commands
Now that we have Terraform we can start deploying infrastructure.
I’ve written a script that does so, using mostly the documentation available at Terraform Azure Docs with trial and error and googling.
This script is based off of my guide on How To Set Up a Kali Linux Active Directory Hacking Lab and can be found here
We can copy it locally by using the following command:
git clone https://github.com/logosred/azure-ad-pentest-labThe script is split into four different files:
- main.tf
- network_security.tf
- variables.tf
- VMs.tf
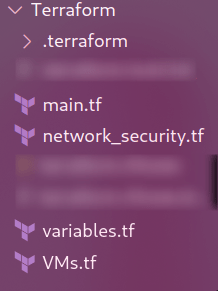
All variables for each file can be seen inside the variables.tf file
main.tf
This file contains the main Terraform variables needed to get Terraform running and a random password generator.
network_security.tf
This file contains all the code related to the VPC ( Virtual Private Cloud) and NSG (Network Security Groups)
The address space for the VPC is 10.0.0.0/16 and contains two subnets
- 10.0.1.0/24 for the AD lab
- 10.0.2.0/24 for Bastion
Each VM contains a static IP address ranging from 10.0.1.155-10.0.1.159 and each a NIC (Network Interface card)
VMs.tf
This file contains all of the code related to the Active Directory lab machines, modeled after my last Active Directory lab it contains:
- A Windows 2022 Server acting as the DC
- Two Windows 11 VMs who will be joined to the DC using Ansible
- A Kali Linux VM as the threat actor
- An Ubuntu Machine acting as our NAS (Network Access Server)
Each VM uses the least expensive performance size although this depends on the region and may need to be changed.
The Windows machines contain a script based off Windows Remote Management – Ansible Documentation
This script opens up the WinRM ports to allow Ansible to work (We shall see in a second)
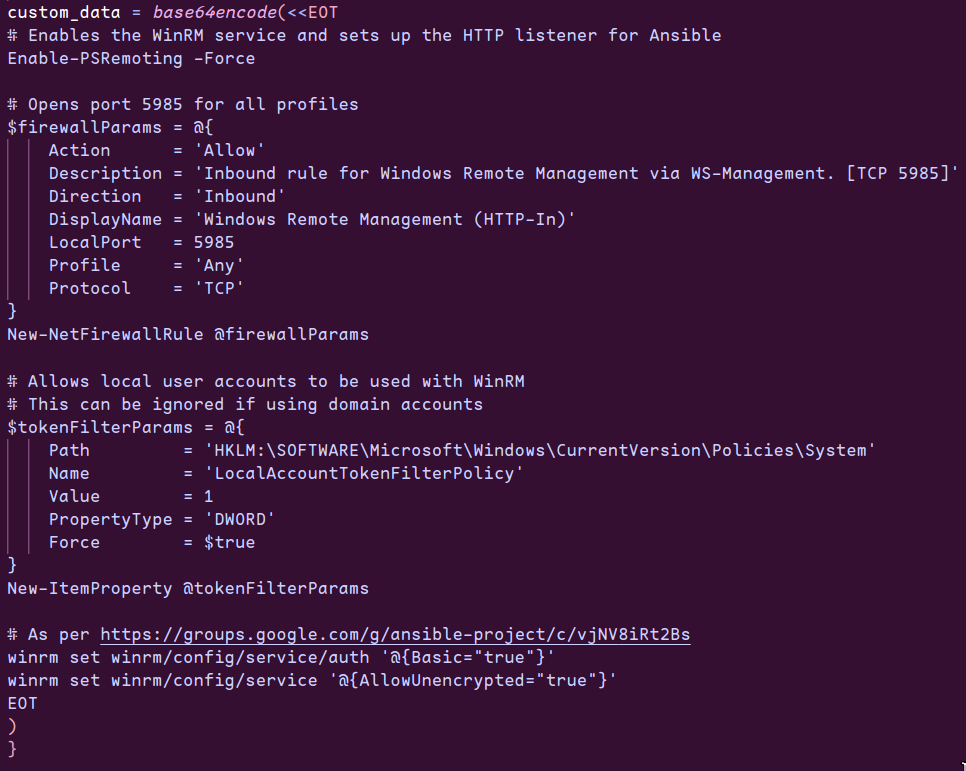
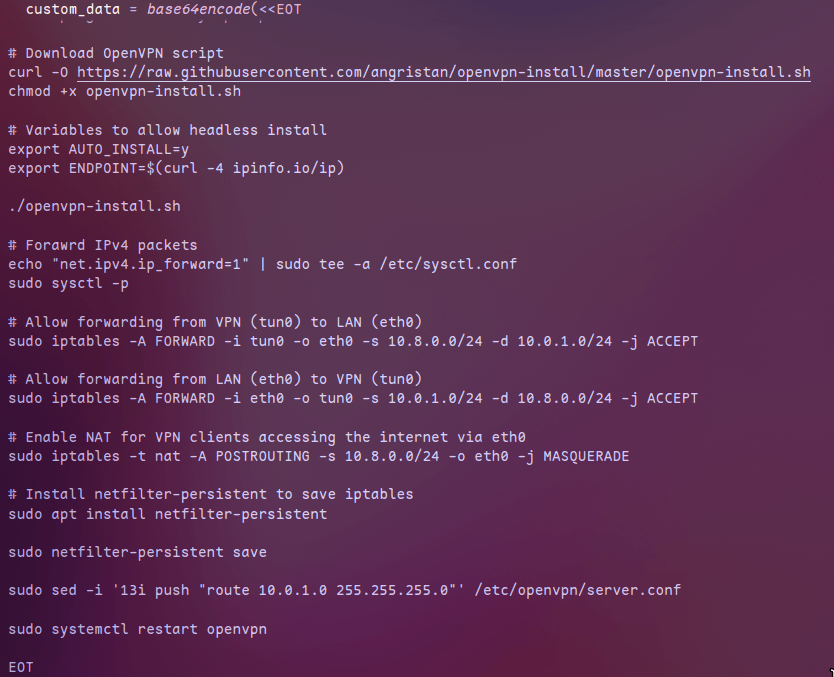
And the Ubuntu machine contains a headless install of OpenVPN with the following key modification:
Due to the way OpenVPN is configured, it automatically puts us on an internal 10.8.0.0/24 subnet that can’t access other machines. We then modify the config such that we forward IPv4 packets and push traffic into the 10.0.1.0/24 subnet.
variables.tf
This file contains all the variables for each file such as the region for deployment, size, machine names, etc.
The file already contains “examples” which are simply the variables that I used to provision my infrastructure
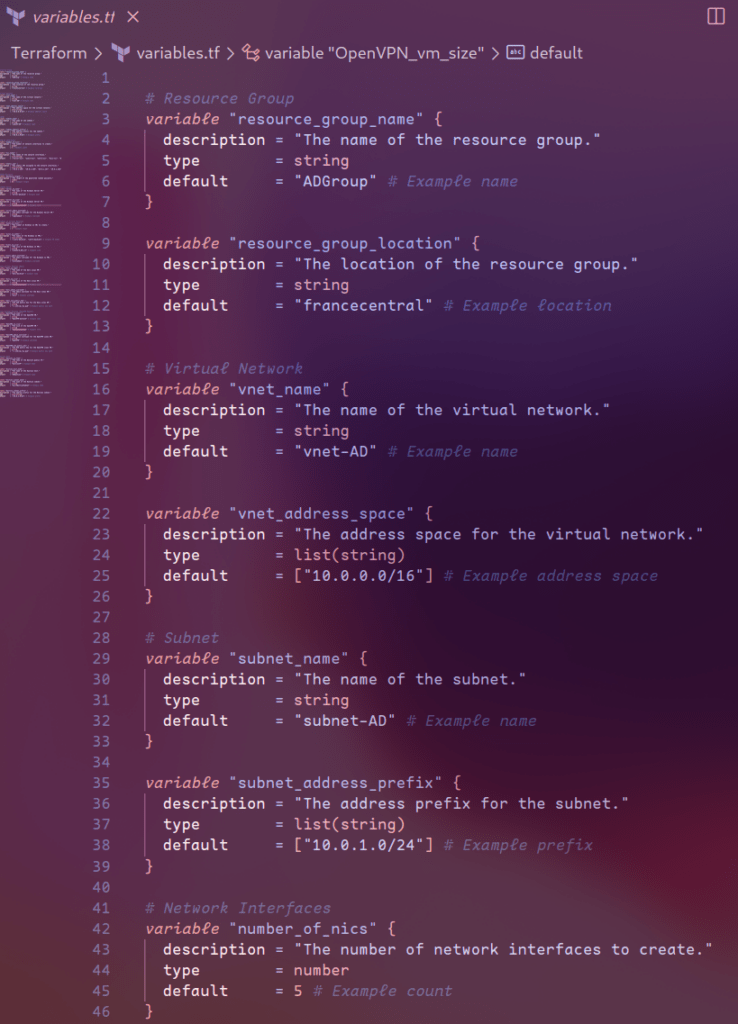
You can change the resource location or usernames to better fit your needs.
Preparing Terraform
The explicit instructions on how to execute the Terraform script are found in the GitHub repo but simply put
- We need to accept the terms and conditions on Azure for the Kali Linux image
az vm image terms accept --publisher kali-linux --offer kali --plan kali-2024-3
- Now we need to create a private key that we’ll use to log into the Linux VMs with
ssh-keygen -t rsa -b 2048 -f ~/.ssh/id_rsa- We need to initialize the Terraform folder which prepares everything by downloading what it needs e.g the Azure Terraform plugin
cd Terraform
terraform init -upgrade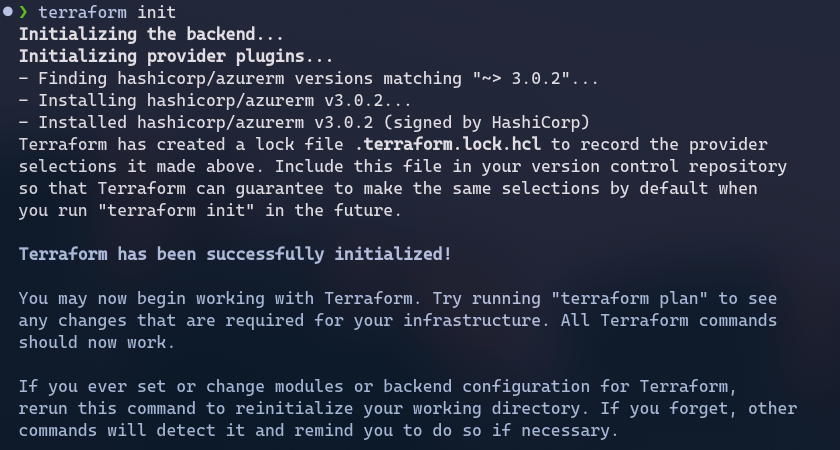
- We can make Terraform give us a plan of action, that tells us what exactly it will do with the command:
terraform plan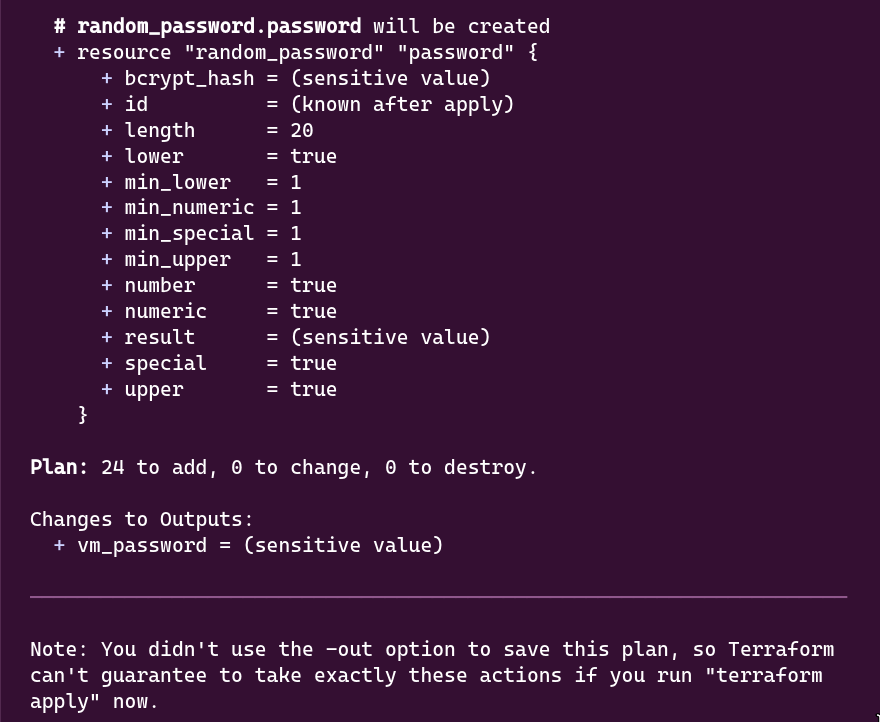
And to finally provision the environment we can use the following command:
terraform applyWhich gives us the same output as “terraform plan” but allows us to provision the infrastructure.
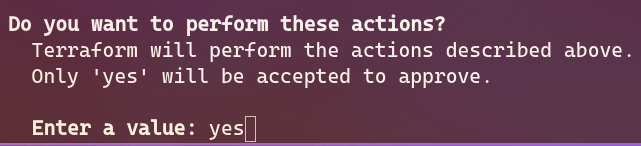
We can type “yes” and have Terraform create our Active Directory Lab
You might get an error saying that you’ve hit your quota, in which case you can change region, the size of your machines or request an increase of quota via the link given.
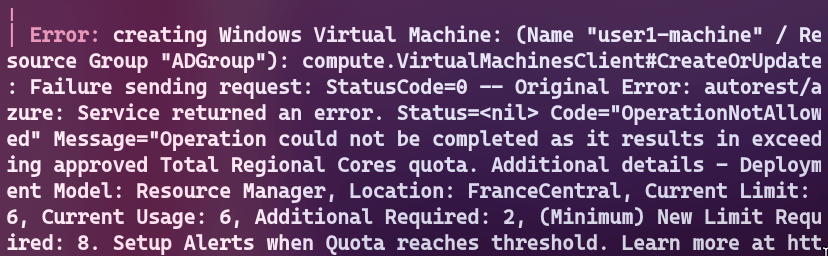
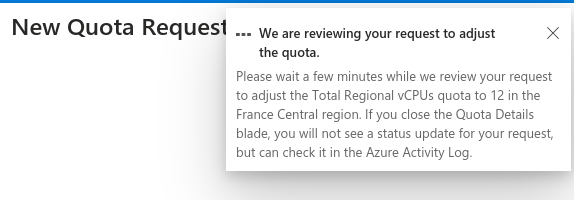
Make sure to also choose a right size for your region:
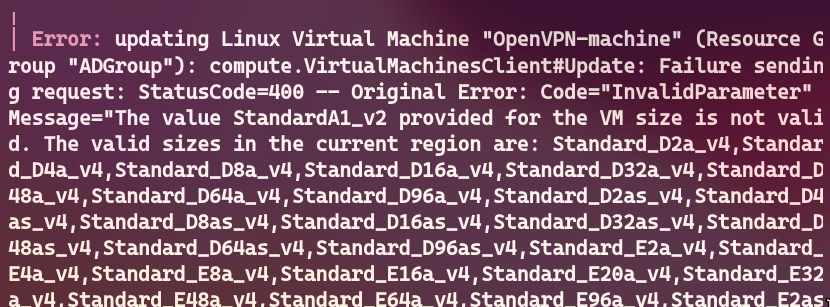
At this point your lab should be deploying. Most of the deployment time will be taken up by Bastion, which can take up to 15 or 20 minutes.

Bastion can be commented out and you can use RDP internally through the VPN if you wish.
Once deployment is done you can see your VMs password by using the following command:
The same password will be used for all VMs for ease of use
terraform output vm_password
OpenVPN configuration
As per my OpenVPN guide How to Build A Secure Cloud VPN with AWS EC2 and OpenVPN
We need to ssh into the Ubuntu server which hosts our OpenVPN server
We can obtain the public IP using the command:
az network public-ip list --query "[].{Name:name, IP:ipAddress}" --output table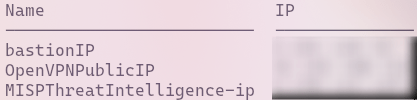
And now we can SSH using the command
ssh -i ~/.ssh/id_rsa OpenVPN@<VM_IP>
And now to create a new user for the VPN client:
cd /
sudo ./openvpn-install.sh
Select 1, give your user a name and select 1 again for passwordless
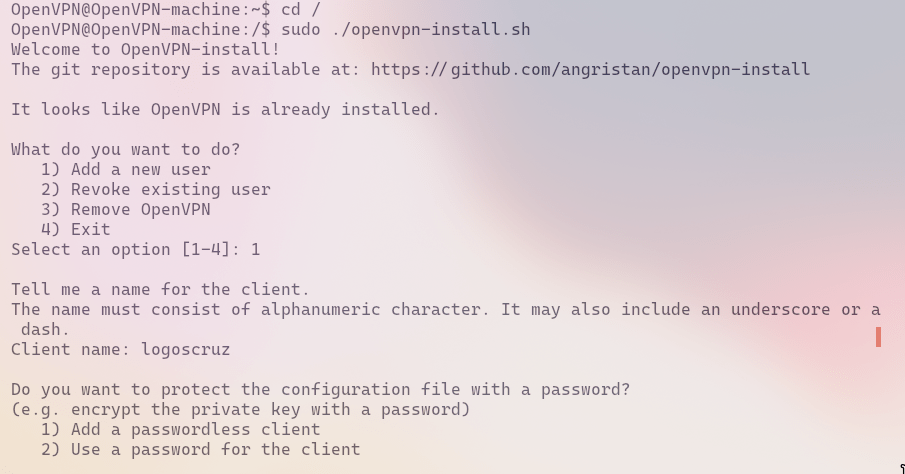
You can now copy your client configuration file using the following command from your host machine
scp -i ~/.ssh/id_rsa OpenVPN@<YOUR_IP>:/home/OpenVPN/<YOUR_USERNAME>.ovpn .
You can now tunnel your traffic so that you can access the VMs using the command:
sudo openvpn <YOUR_USERNAME>.ovpnWhat is Ansible?
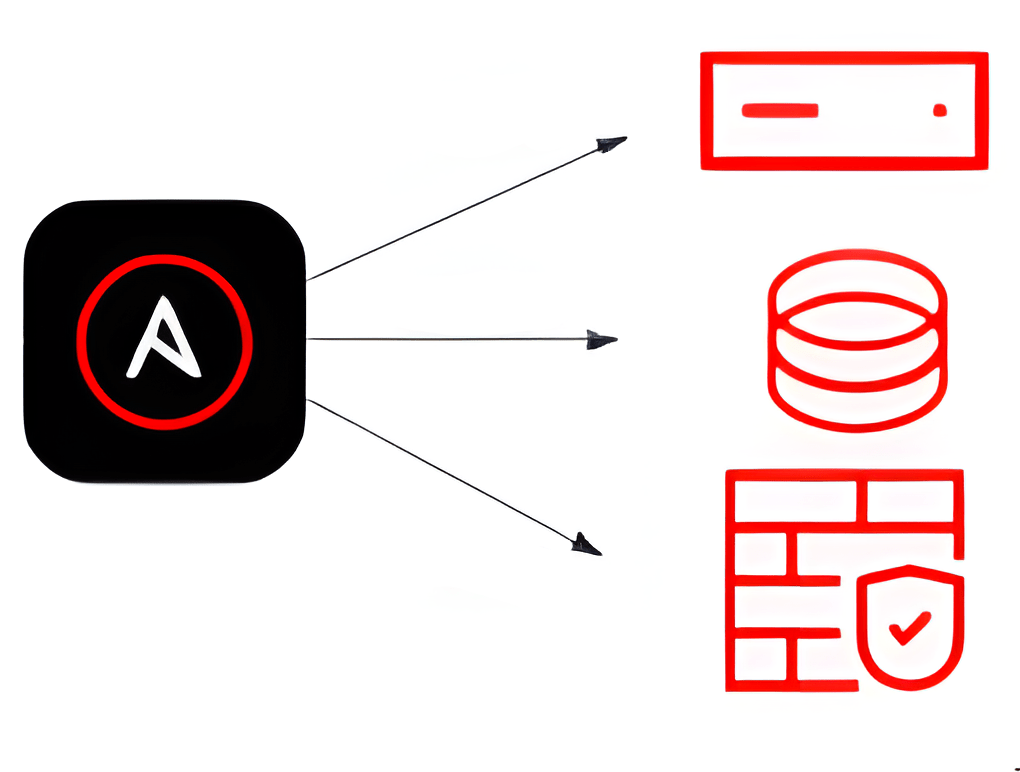
You can simply go ahead and think of Ansible as a means of controlling multiple computers at once instead of a single one.
Let’s say for example we needed to update multiple Linux servers, instead of logging into each one using SSH and typing the command:
sudo apt update & sudo apt upgradeWe can use Ansible to send multiple commands to each server at once.
If we needed to do something more complex, we can create what is known as a “playbook” that contains multiple steps or plays.
- Installing Ansible
Use your desired package manager and simply install ansible and ansible-core with the possible need of python-pywinrm
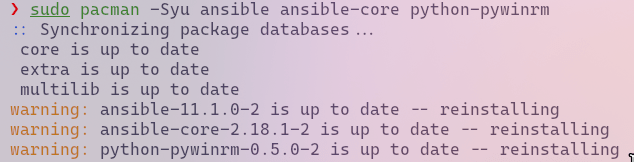
In the cloned repository from before change directories to the Ansible folder.
Ansible has the ability to create a secret vault containing all the secrets we don’t want hardcoded
ansible-vault create secrets.ymlWhere you can give the vault any password and the values inside should be:
domain_admin_password: <vm_password>
safe_mode_password: <vm_password>
ansible_password_dc: <vm_password>
ansible_password_ad_users: <vm_password>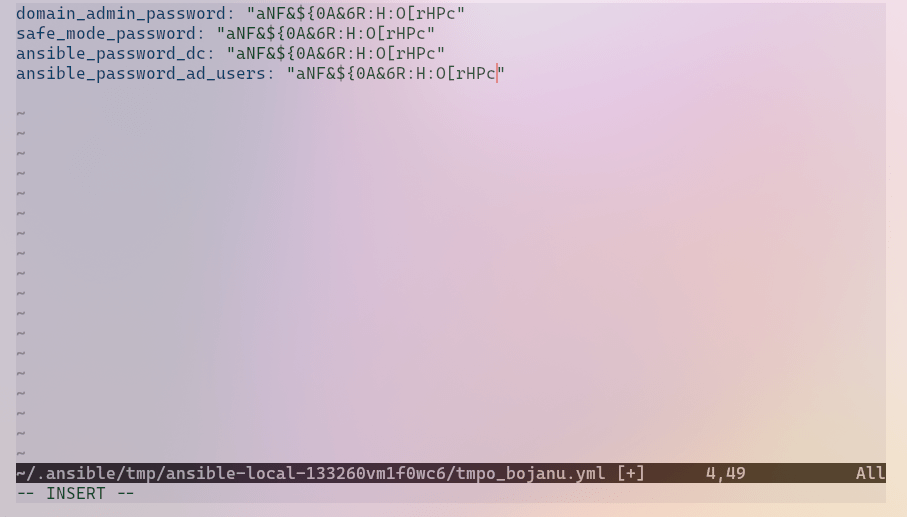
Where vm_password is the Terraform output password from before. We’re reusing passwords for ease of lab use.
If you want to change any Ansible variables you can change the vars.yml file
vim vars.ymlWe can go ahead and configure all of the machines with the simple command:
ansible-playbook --ask-vault-pass -i hosts ADLab.yml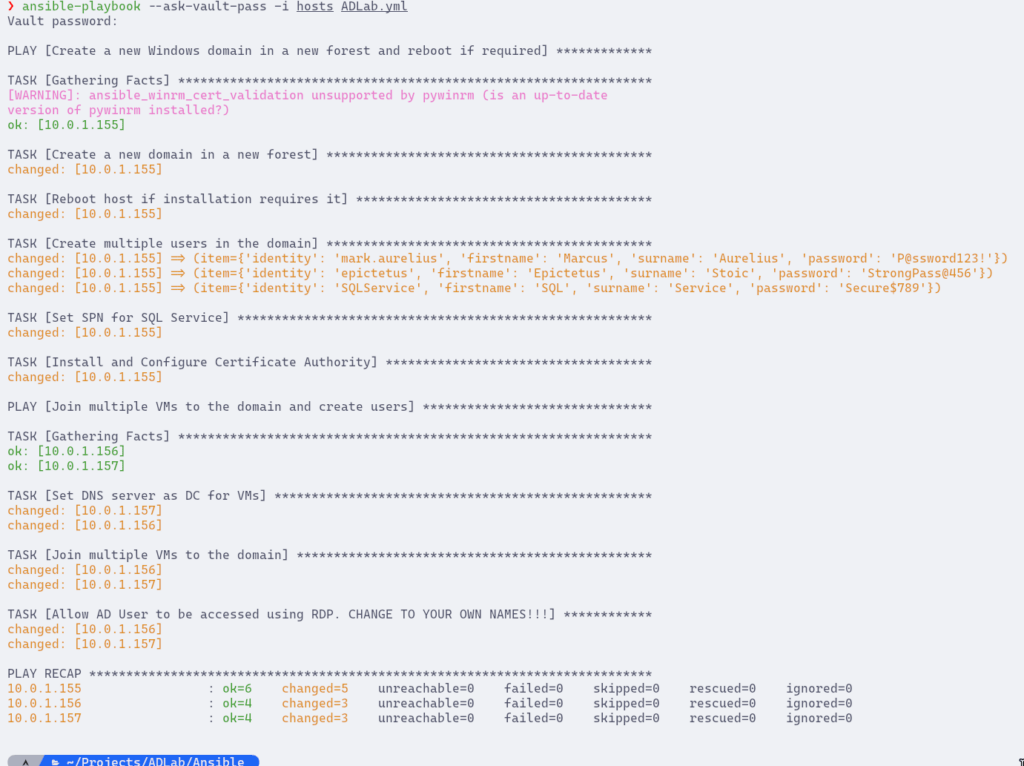
And just like that we’ve completely created an entire active directory lab that might’ve taken us 30 minutes to an hour in as little as 10 minutes.
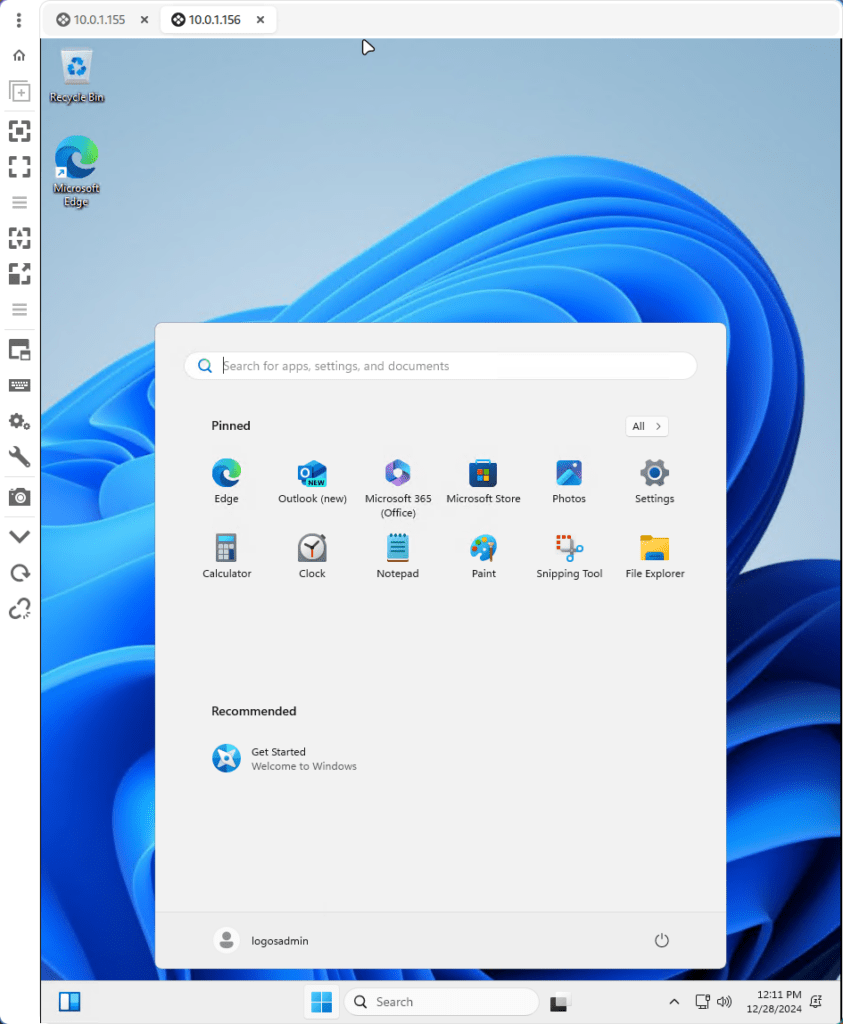
You can log into any of the machines using an RDP client such as Remmina and choosing your username and domain as “logosadmin” or if you changed the variables, your own.
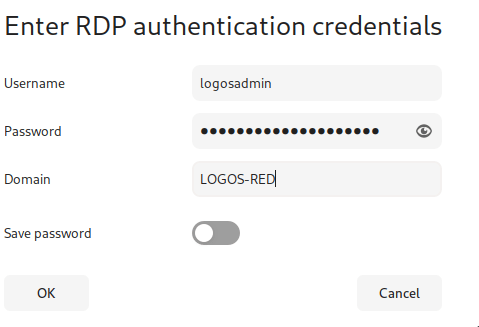
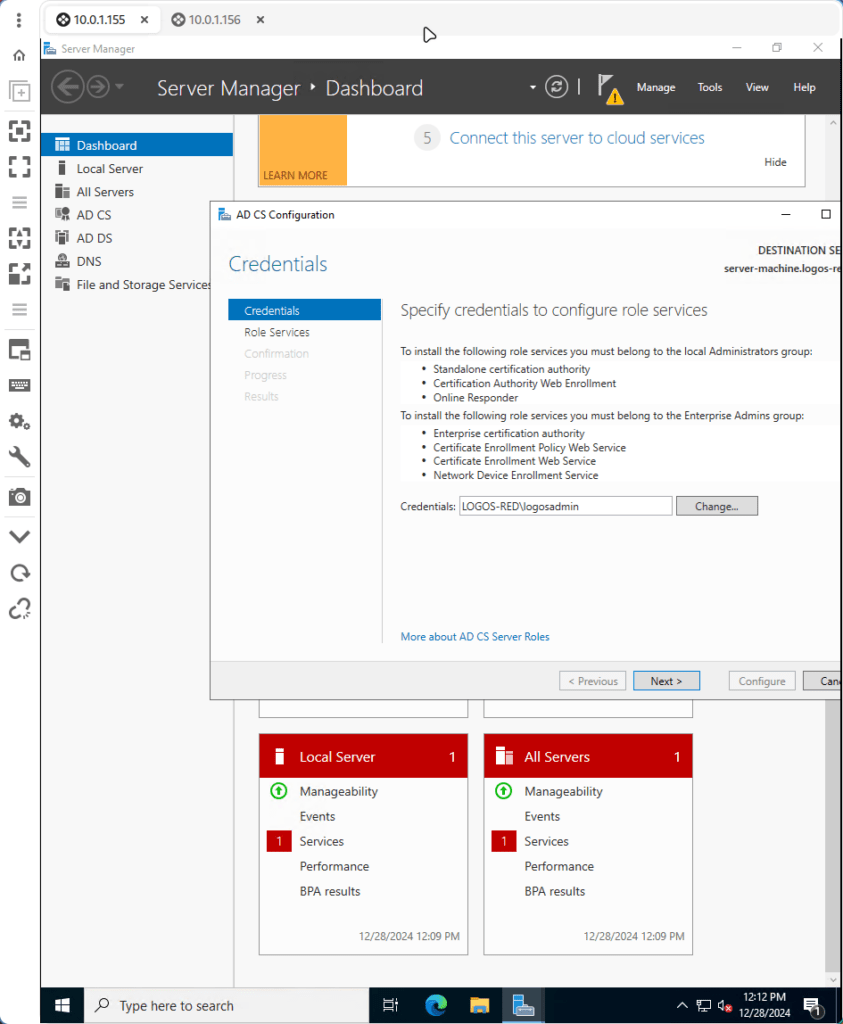
Ansible might not be able to fully complete the certification wizard so you might need to click “Next” and complete it as per the manual tutorial in the DC.
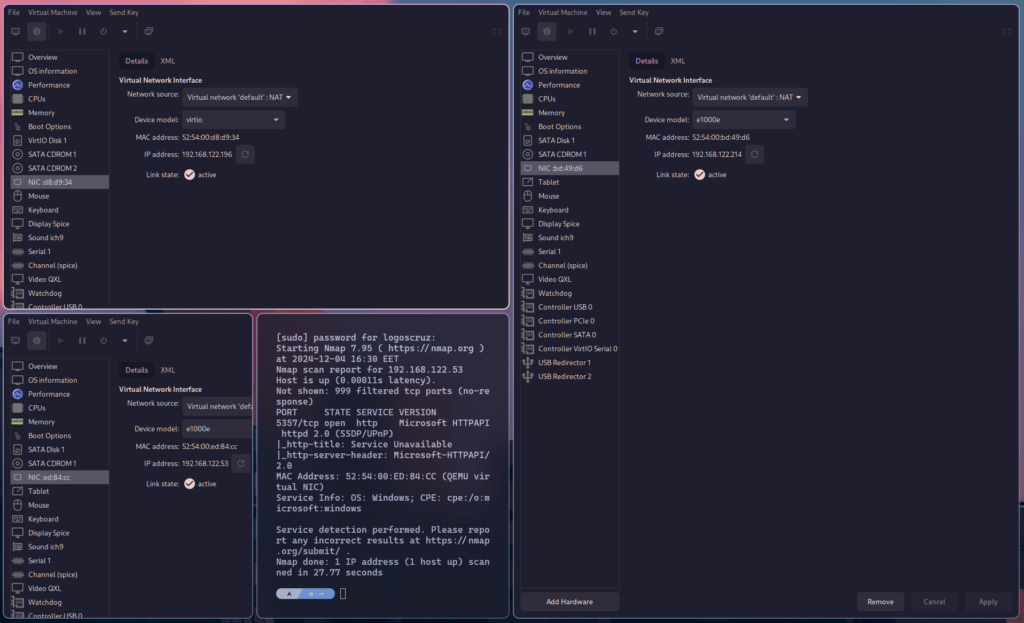
The ansible playbook can also be used locally on VMs by changing the hosts and vars.yml file.
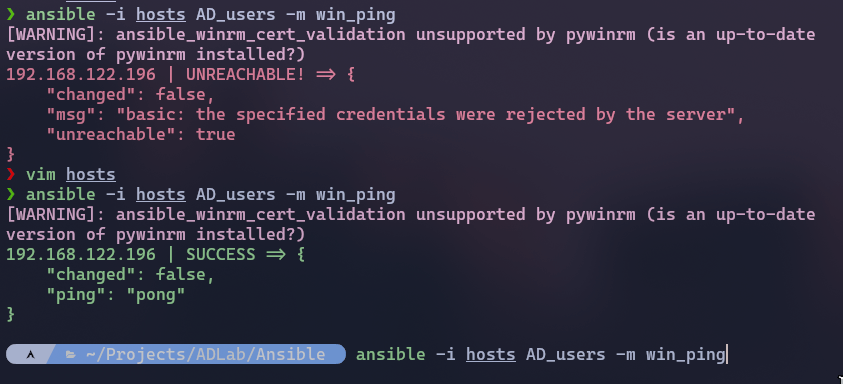
You will also have to run the WinRM Powershell script to open up said WinRM ports
Conclusion
In this post, we outlined the exact steps to deploy a fully functional Azure Active Directory pentest lab using Terraform and Ansible. Starting with the setup, we installed Terraform and Azure CLI, authenticated with Azure, and created a contributor account to manage resources programmatically.
Next, we configured environment variables to securely pass credentials to Terraform and cloned the lab repository. We examined the four main Terraform files: main.tf, network_security.tf, variables.tf, and VMs.tf, detailing their roles in setting up the infrastructure.
We used Terraform commands like terraform init, terraform plan, and terraform apply to provision resources, including a virtual network, subnet configurations, and multiple VMs for the lab, such as a Windows Domain Controller, Windows 11 clients, a Kali Linux VM, and an Ubuntu NAS with OpenVPN.
For Ansible, we set up a vault for secure password management, customized variables in vars.yml, and executed the playbook ADLab.yml to configure the lab machines. This included enabling WinRM and domain joining the clients to the DC.
Finally, we configured OpenVPN on the NAS, generated client profiles, and used them to access the internal lab network securely.
By following these steps, you should now have a comprehensive Active Directory lab ready for pentesting. Thank you for reading, and I hope this guide has been valuable to you.
More Resources
If you didn’t understand something or you need some help, we have our own Discord community and I currently offer free coaching.
You can also leave us some feedback with what you did not understand and we will make sure to correct it.