Welcome to Logos Red, I go by logos and:
Want to gather threat intelligence in Microsoft Sentinel?
In this guide we’ll be looking at implementing MISP, an open source threat intelligence platform. By doing so we can ingest indicators of compromise such as compromised IPs, malware groups, attack patterns, and threat actors into Microsoft Sentinel to better gauge the threat actors attacking our systems.
My Promise
This post will finally end your meaningless search for a valid answer, and you will leave with MISP working in Microsoft Azure.
If there are still any questions left, let me know so I can add it to help the next person who will arrive here.
My Goal
To help you improve in less time than it took me and to make sure you leave with what I promised.
I want you to join our community and for this to be a place that you revisit often.
Previous SOC Project Posts
- How To Build A Microsoft Azure Sentinel SIEM Cybersecurity Lab
- How To Visualize Failed RDP Events Using C# & GeoIP2 in Azure
Requirements
- A foundation in cybersecurity, especially terminology: I recommend either the CompTIA Security+ or Google Cybersecurity Professional
- A Free Microsoft Azure Account: https://azure.microsoft.com/en-us/pricing/purchase-options/azure-account
- A Microsoft SIEM Lab such as the one I built here: How To Build A Microsoft Azure Sentinel SIEM Cybersecurity Lab
What we’ll be doing
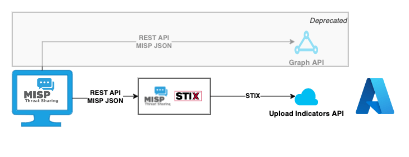
In a high-level overview, we will:
- Build our own MISP Ubuntu instance using bare metal MISP / docker inside a Microsoft Azure virtual machine.
- Build a Microsoft Function App that will run a Python script (misp2sentinel) that will handle API calls to our MISP instance to pull IOCs.
- You can think of a Microsoft Function App like AWS Lambda, a serverless platform to run our Python script.
- Ingest the threat intelligence data in Microsoft Sentinel.
Sounds easy in hindsight, but the project does take a bit of work.
Setting up our Linux Virtual Machine with MISP
In Microsoft Azure open up the “Virtual Machines” section and click on Create -> Azure virtual machine.
This will be the server that will send the data into Microsoft Sentinel.
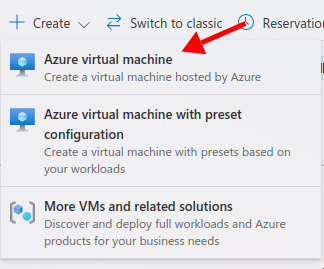
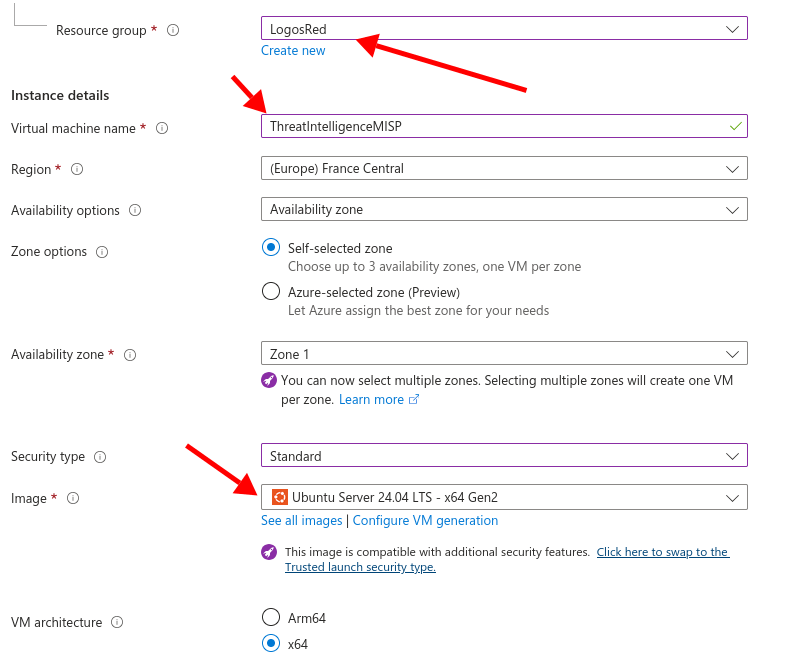
You can leave everything mostly default, just make sure that your image is Ubuntu 24. Give it a name and you’re good to go.
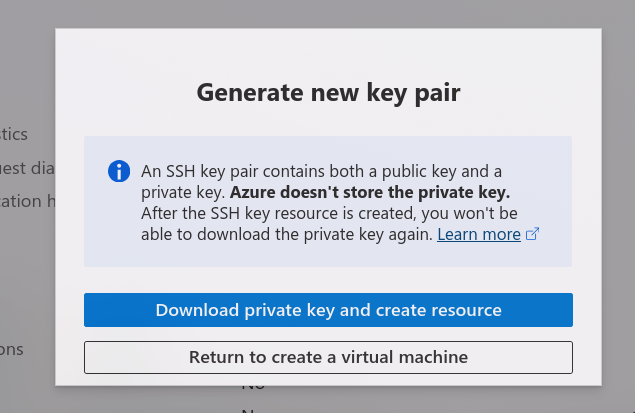
Make sure to download your private key as that’s what you’ll be using to log in:
Once your virtual machine is created I recommend using ssh or PuTTY if you’re on windows.
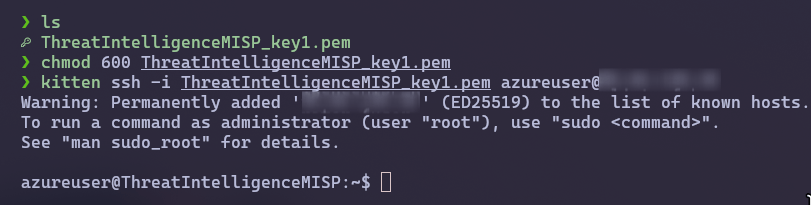
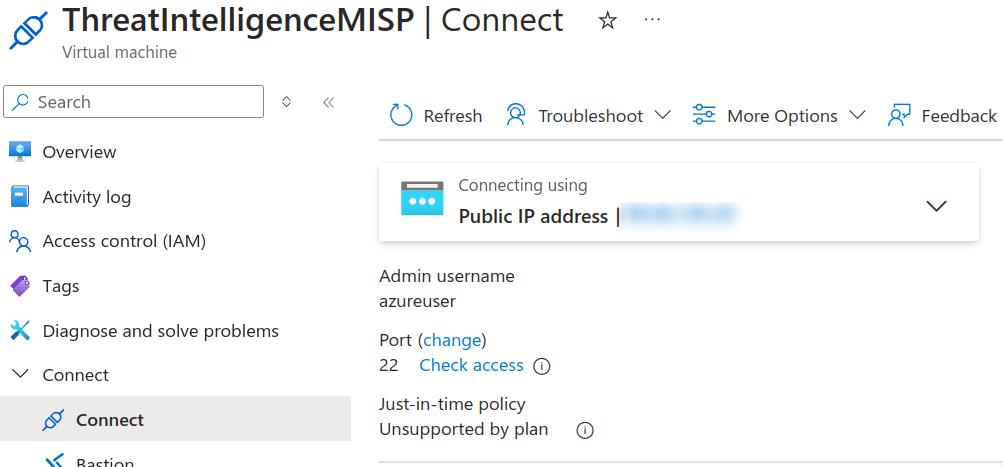
You can find the login details under “Connect”
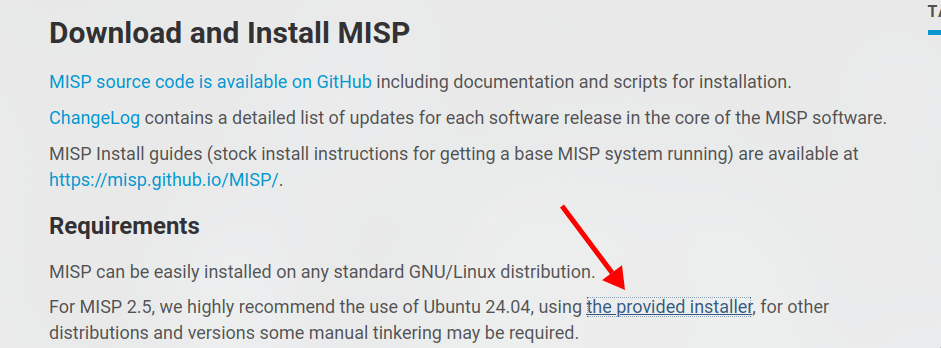
Method 1: Using the install script (Recommended)
Simply go to the following official MISP download the official script from https://www.misp-project.org/download/
wget https://raw.githubusercontent.com/MISP/MISP/refs/heads/2.5/INSTALL/INSTALL.ubuntu2404.sh
chmod +x INSTALL.ubuntu2404.sh
./INSTALL.ubuntu2404.sh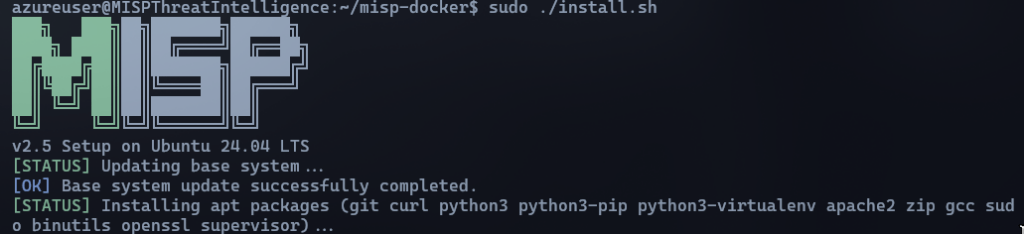
Method 2: Using Docker
If you can’t use Ubuntu 24, make sure you get follow the Docker Engine installation guide using your specific version of Linux from https://docs.docker.com/engine
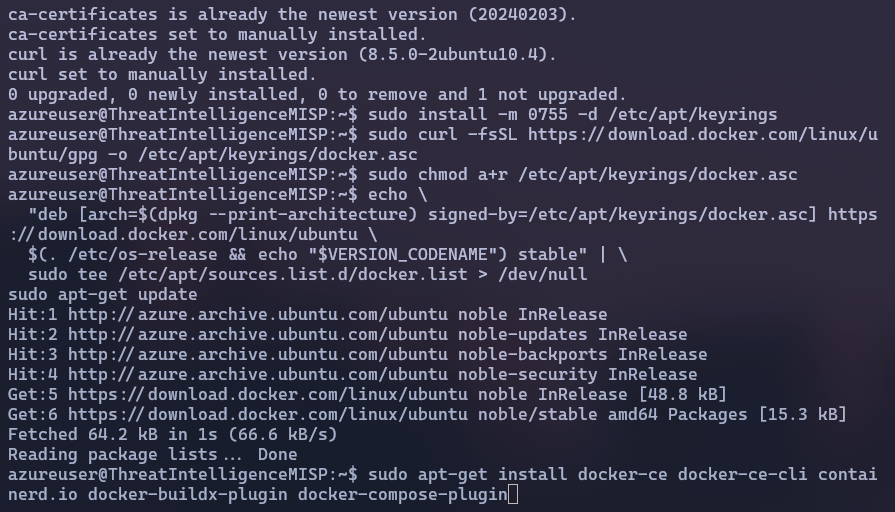
Once Docker is fully installed you can clone the following MISP repository: https://github.com/misp/misp-docker
git clone https://github.com/misp/misp-docker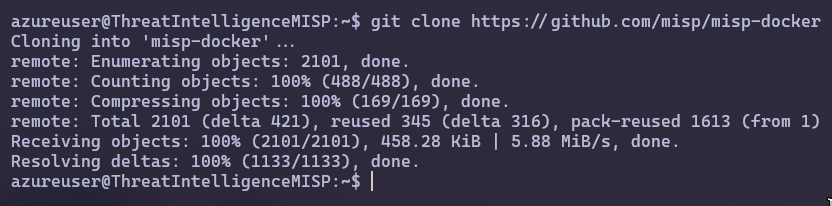
And then we need to modify our .env variable for our docker compose image. To do so:
cd misp-docker
mv template.env .env
vim .env || nano .env
And make sure to change the BASE_URL variable to your VM’s public IP address
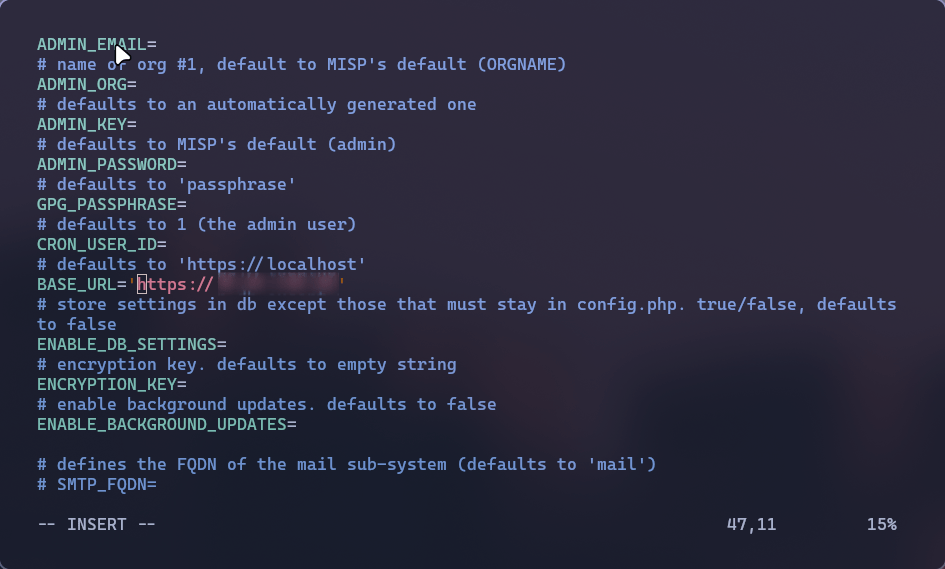
And now to set up our docker containers we can use the following commands:
sudo docker compose pull
sudo docker compose
We now need to enable port 443 to allow HTTPS traffic to come through to your virtual machine. You can do so under Network settings -> Create port rule -> Inbound port rule
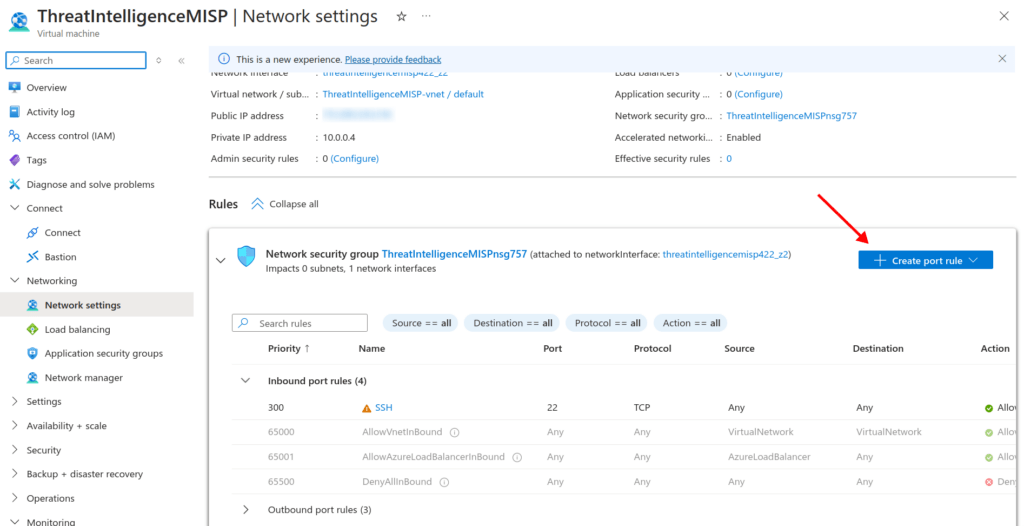
And make sure “Destination port ranges” is set to 443
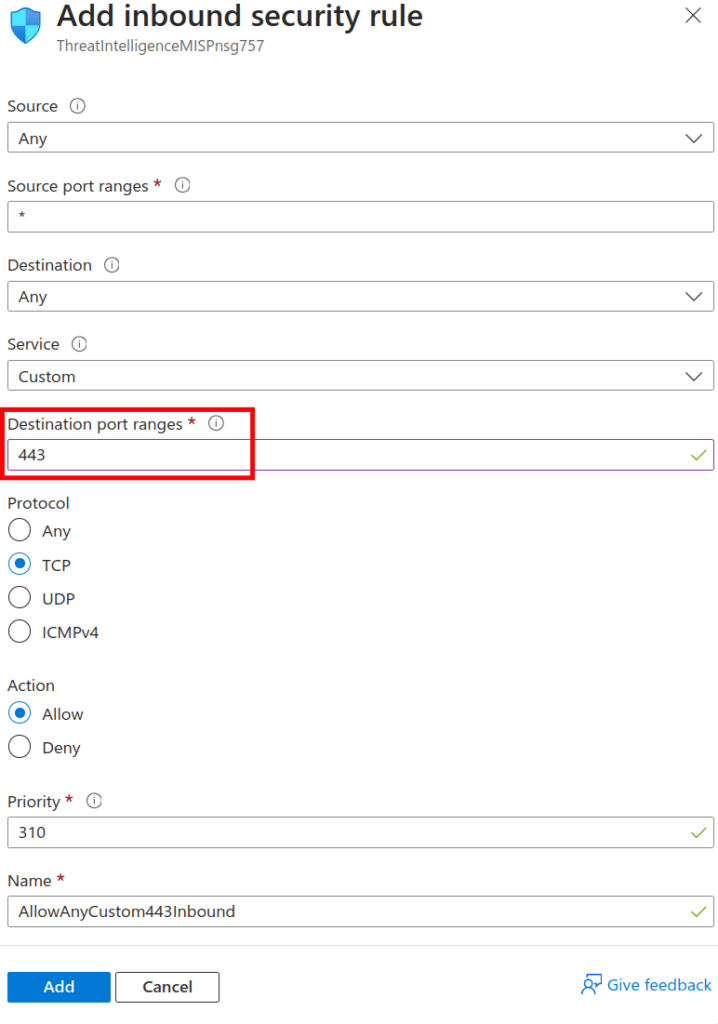
Once your docker containers reach the “INIT | Done …” stage you can safely press <CTRL> + Z to background docker.
Configuring MISP
You can now reach your website by visiting the public IP address.
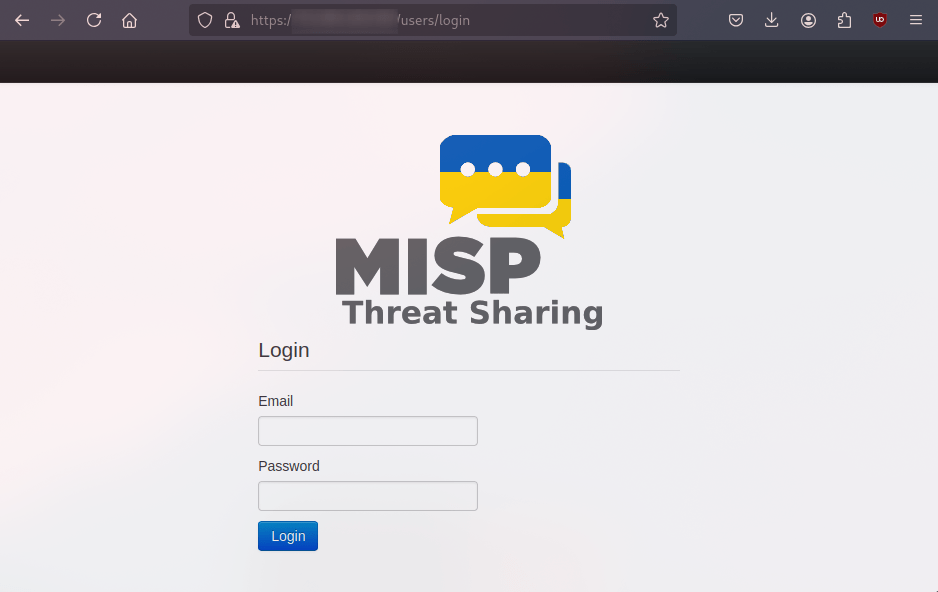
And you can log in using the following default credentials:
- Email: [email protected]
- Password(Docker): admin
- Password(Script): Given once installation is complete.
The first thing you should be doing is changing the default admin password by navigating to Admin -> Change password

Now we can safely configure MISP to gather threat intelligence data.
Copy the following JSON from the MISP GitHub
And add it into your MISP instance by going to Sync Actions -> Feeds -> Import Feeds from JSON and add your JSON data from before.
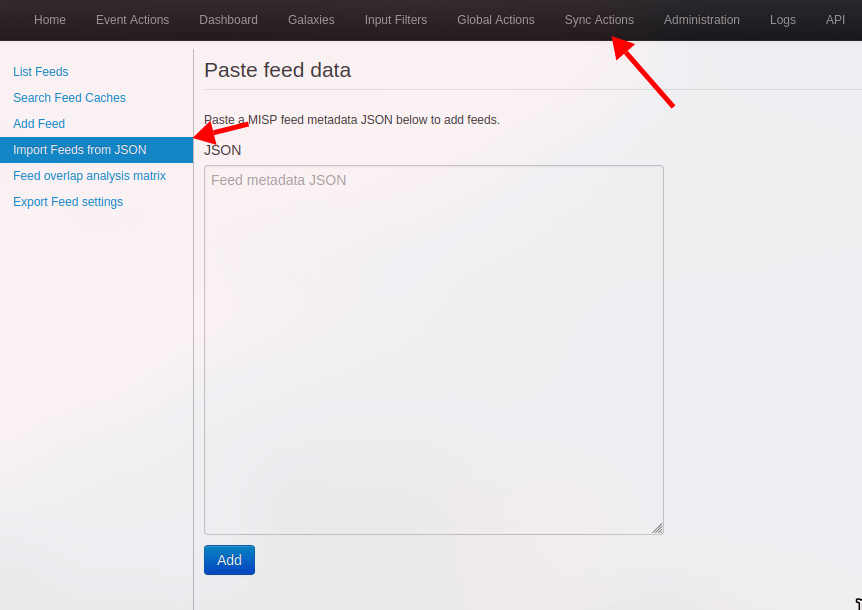
And now enable a few of the feeds by clicking on the little checkbox next to “ID”, then “Enable selected” and finally “Fetch and store all feed data”
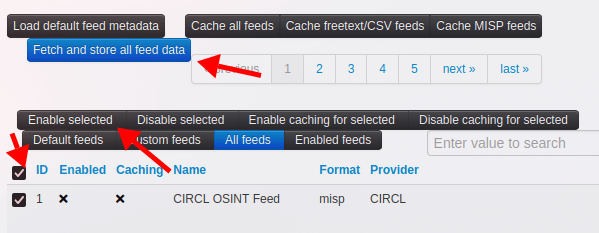
Setting up MISP2Sentinel inside Microsoft Azure
Now we need to bring in the threat intelligence gathered by MISP into Microsoft Sentinel.
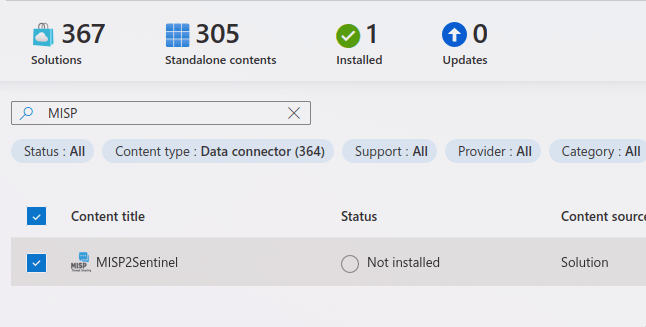
To do so go to Microsoft Sentinel -> Data connectors -> Content hub
Search for “MISP2Sentinel” and install
Now you can search for “app registrations”
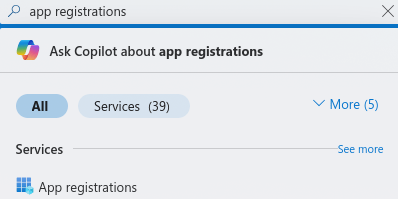
And “New registration”

Give it a descriptive name and leave everything else on default.
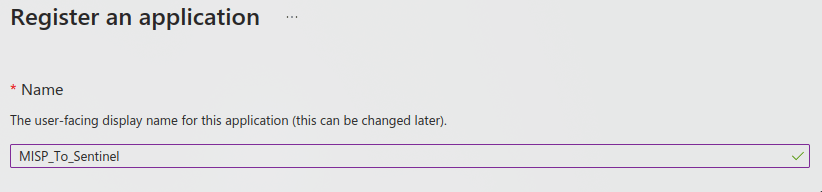
And make sure to take note of the Application,Object and Directory ID. We will need those later.
Now we need to create a client secret that we will use. You can do so by going to Certificates & secrets -> New client secret
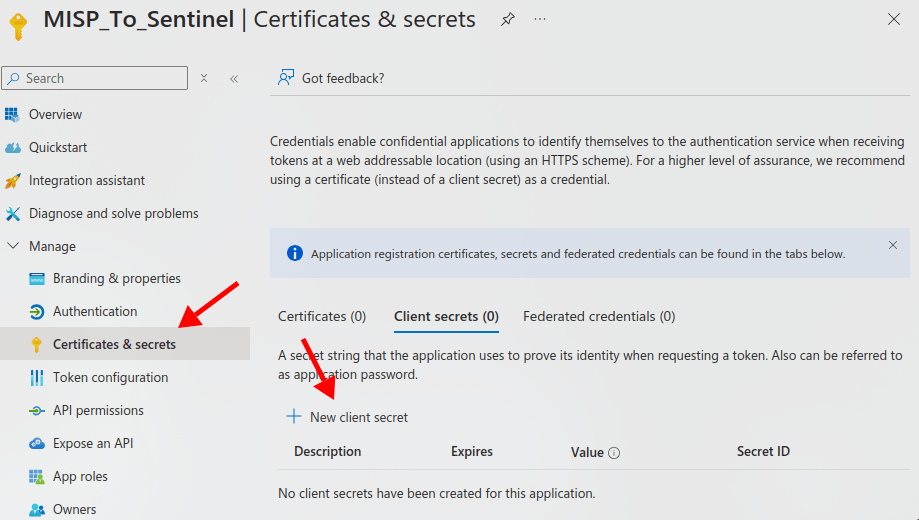
Give it a name and create it
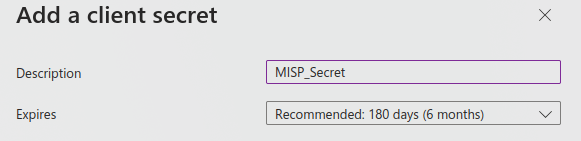
And then once again make sure to take note of the secret value

And now we need to allow our application to access our workspace. We can do so by going to “Log analytics workspaces”
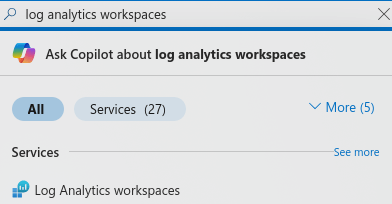
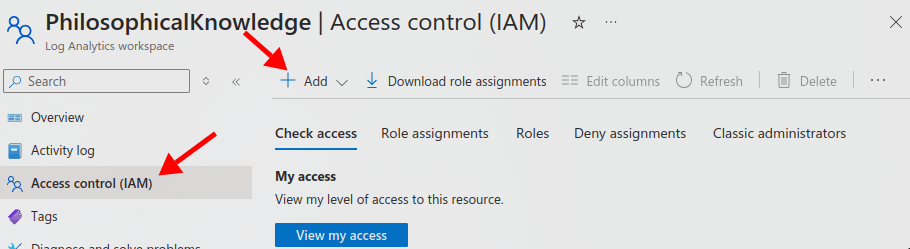
And now you can select your workspace and go to IAM -> Add
And then search for “Sentinel Contributor”
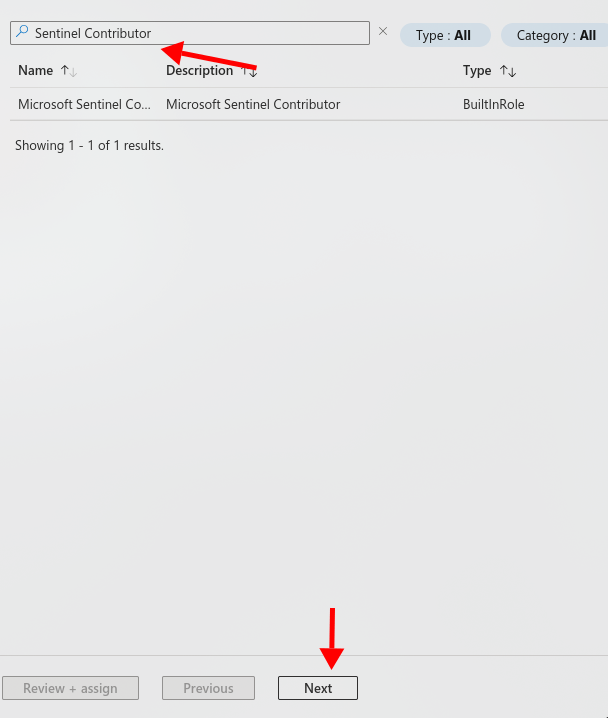
And then Select members -> Your Application -> Review + assign
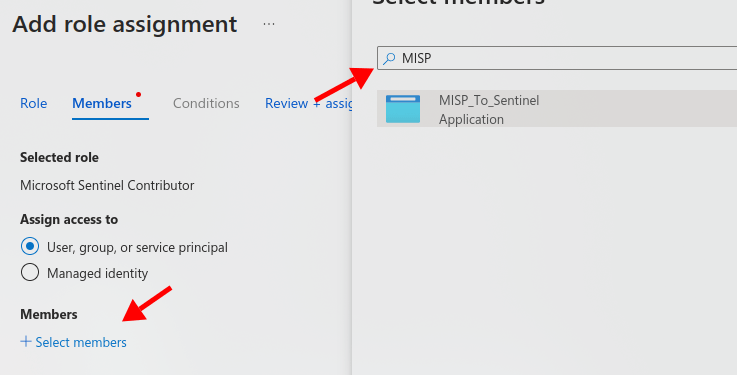
For the sake of simplicity and ease of use we will use environmental variables and not restrict much.
In a production environment you should be using a key vault and make sure that your API keys expire and are restricted.
Now back in your MISP public facing website, go to Administration -> List Auth Keys
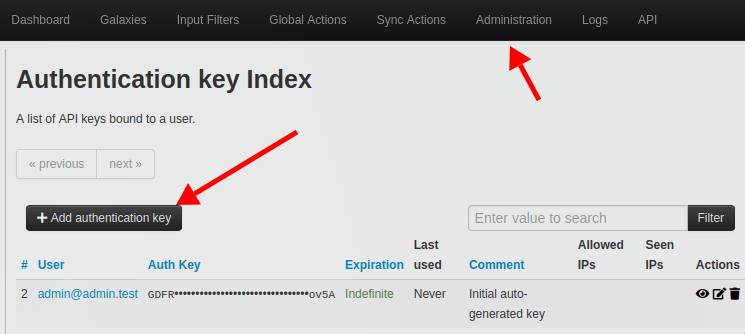
Keep everything default and make sure that you note down your API key.
Now back in Azure we will be creating a Python Function app that will run the MISP2Sentinel script
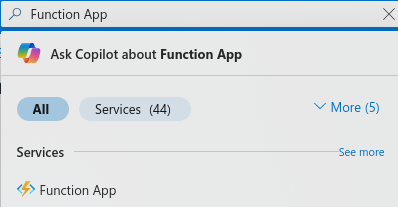
Then “Create Function App”
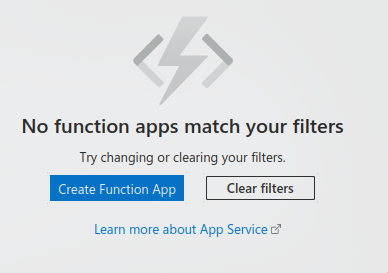
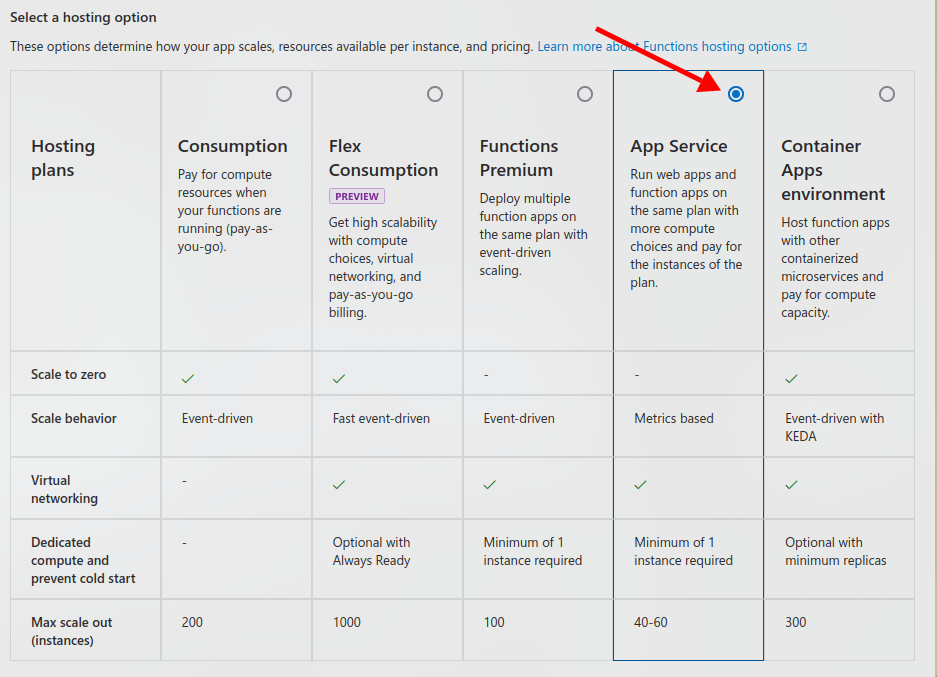
And select “App Service”
The variables that you should pay attention to are
- Function App name
- Runtime stack
- Region
- Linux Plan
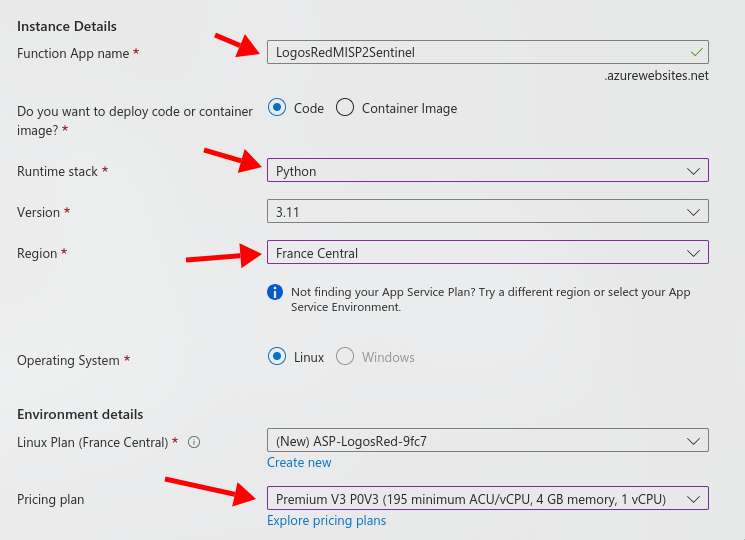
Make sure your app is set to the same region as your other stack and that you give it adequate power. Doesn’t matter as this is a test laboratory and we won’t be running indefinitely.
And then create.
Once the app is deployed you will want to have Visual Studio Code downloaded. You can get it from: https://code.visualstudio.com/download
And then on your host machine clone the following repository
git clone https://github.com/cudeso/misp2sentinel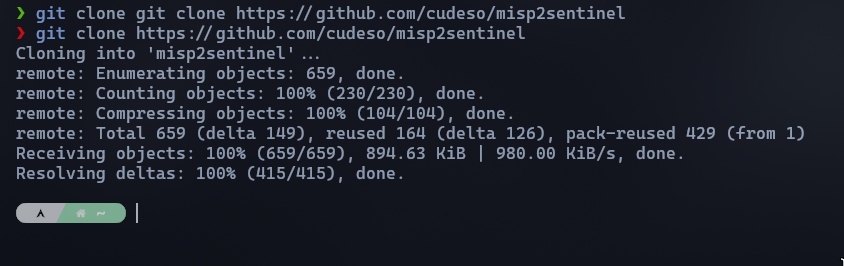
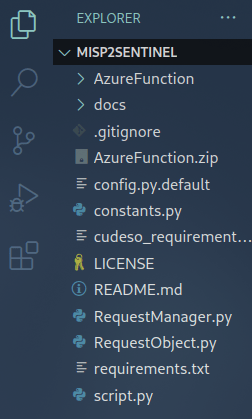
And now open up the repository inside of VS Code
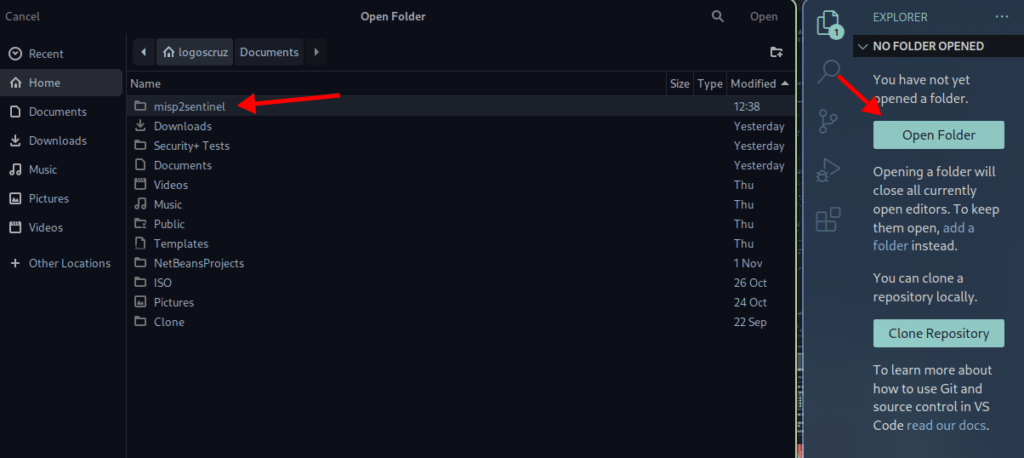
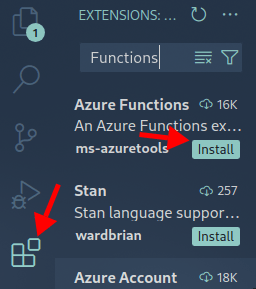
And under “Extensions” make sure that you install “Azure Functions” along with “Python” and “Python Debugger”
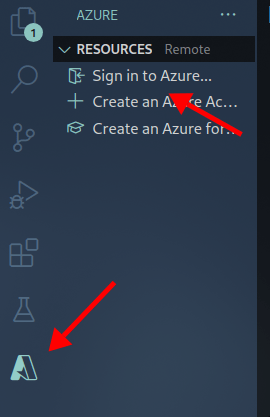
Click on the Azure symbol and log in
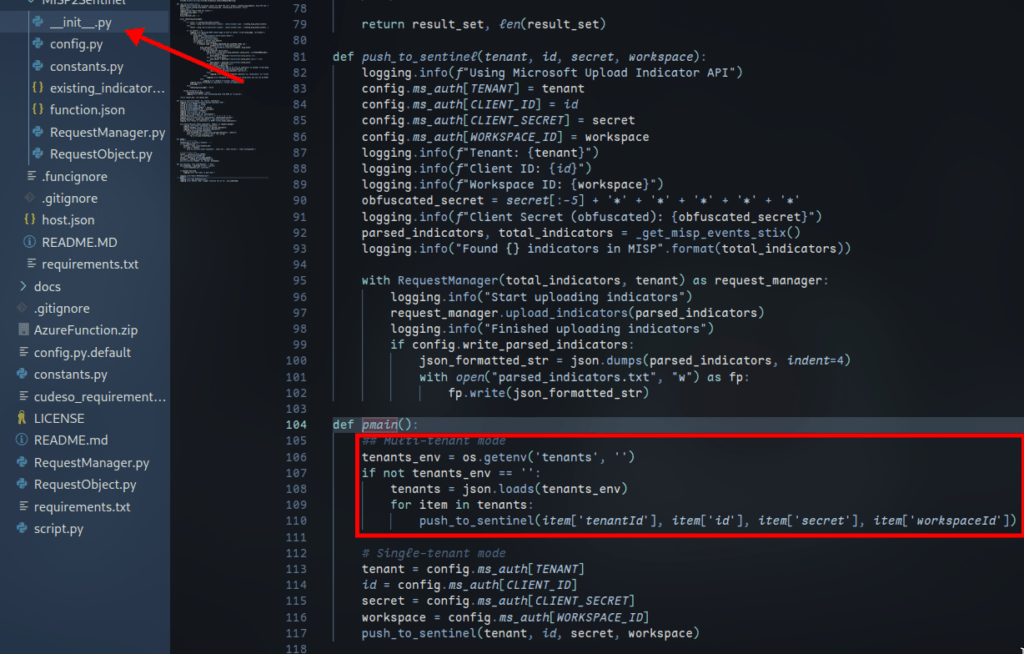
Back in our repository folder, since we are in single tenant mode, we need to delete the multi tenant function.
In the __init__.py script delete the ## Multi-tenant mode part of the function.
And in the config.py change “MISP-key” into “mispkey”

Now right click “AzureFunction” and click “Deploy to Function App…”
At the top select the function app that we added before.

And then “Skip virtual environment”

After waiting for a bit:
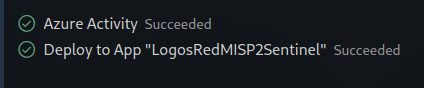
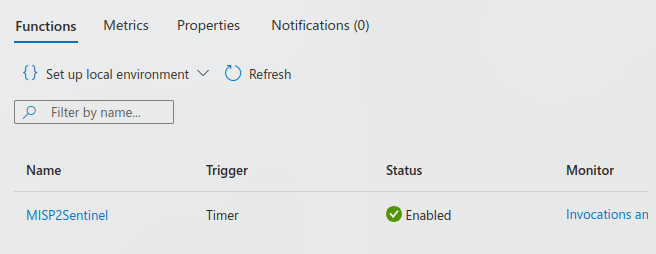
Going back to your Azure Function app after waiting for a bit you should see a new function
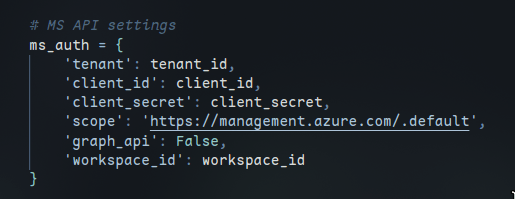
Now, MISP will be looking inside our environmental variables to try to log in so we need to provide them in the exact way that it looks for them:
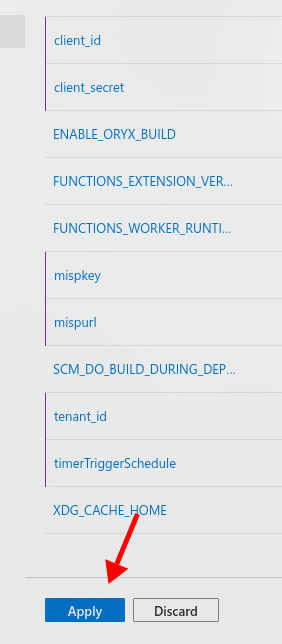
You can go back to your Function App and add Environment variables using the data you saved up from before
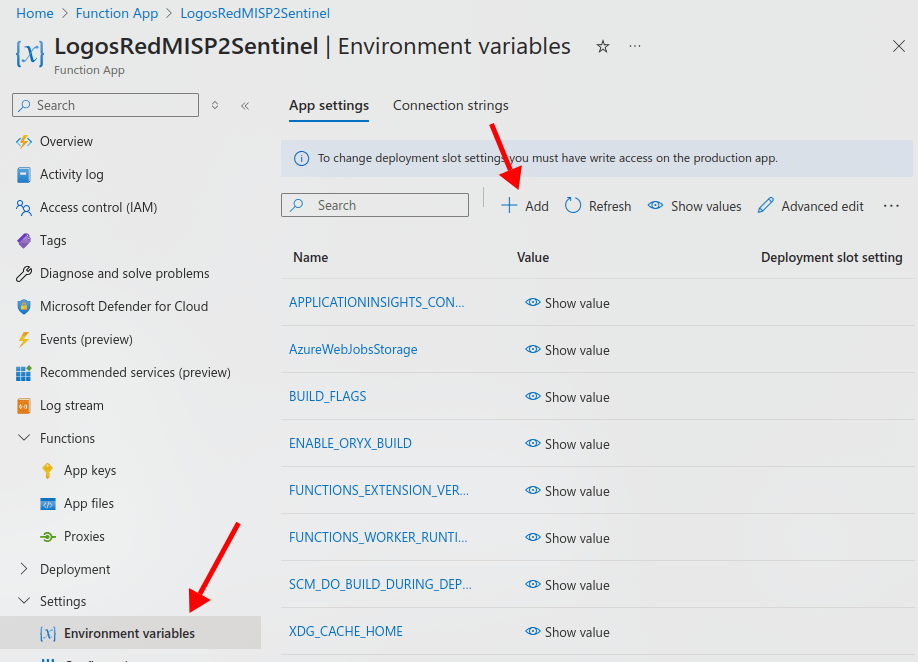
Some extra ones over tenant_id,client_id,client_secret,workspace_id will be:
- mispkey (Your API Key)

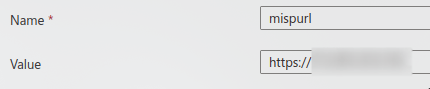
- mispurl (Your public facing IP)
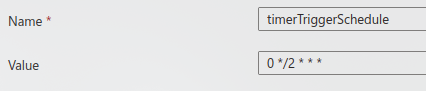
- timerTriggerSchedule (Which takes the form of a cron job running every 2 hours)
- AzureFunctionsJobHost__functionTimeout

And you can now click “Apply”
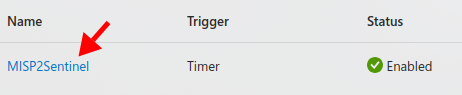
Now going back to “Overview” and clicking on our function we can finally run it.
And also make sure to open a log window side by side

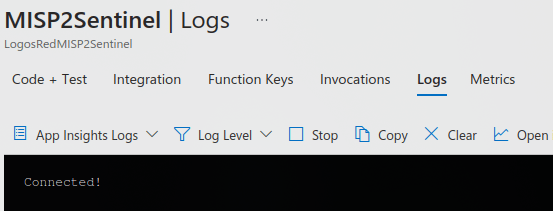
And now you can run your function and hope that everything has been set up right.
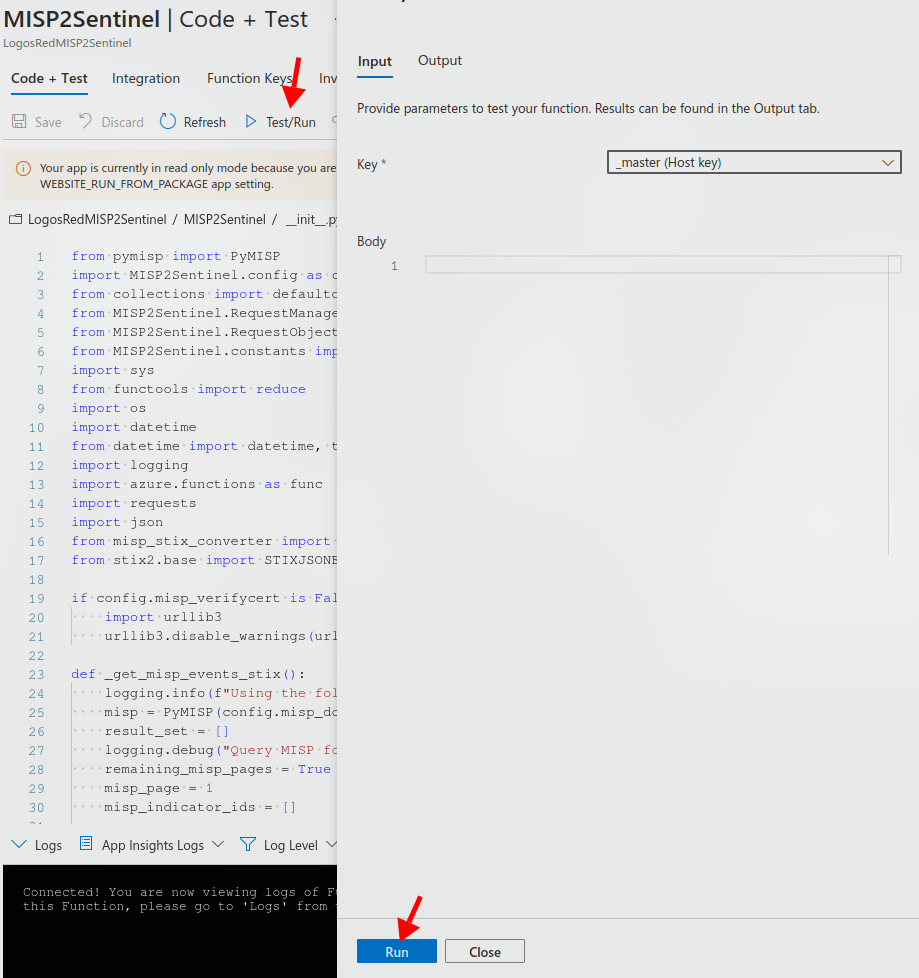
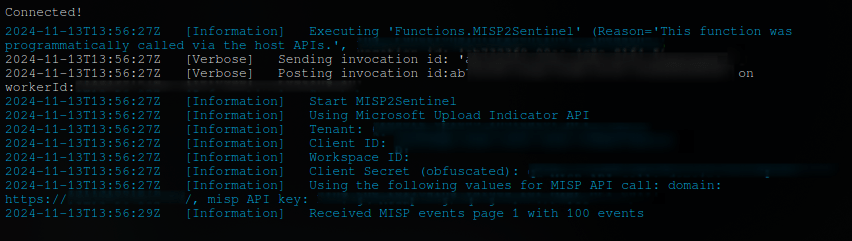
You should get a ‘202 accepted’ indicating that you’ve set everything up right.

And now your function will start pulling in data and sending it over to Sentinel.
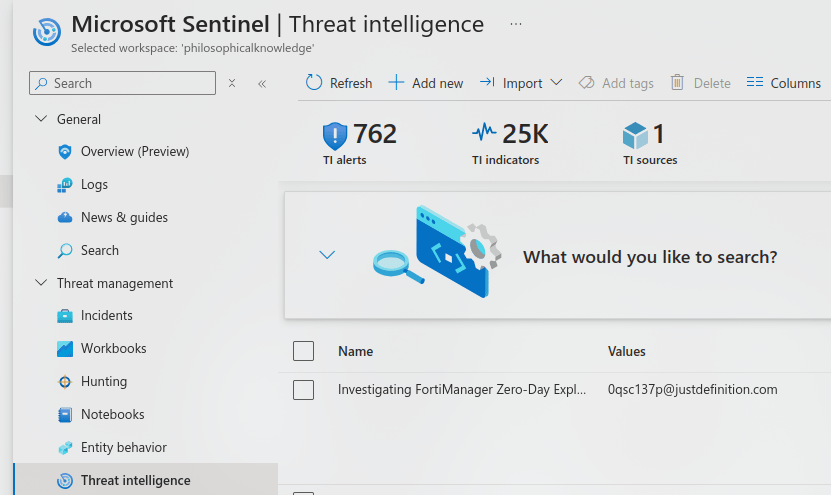
And going back into Microsoft Sentinel -> Threat Intelligence you should now see your new IOCs
What can we do with this threat intelligence?
Well let’s say that we’ve gathered previous failed RDP event using: How To Visualize Failed RDP Events Using C# & GeoIP2 in Azure
And we managed to get the following IP address: 37.237.192.22
We can simply type:
ThreatIntelligenceIndicatorAnd see the data that is being gathered, including fields such as Description,ConfidenceScore, etc.
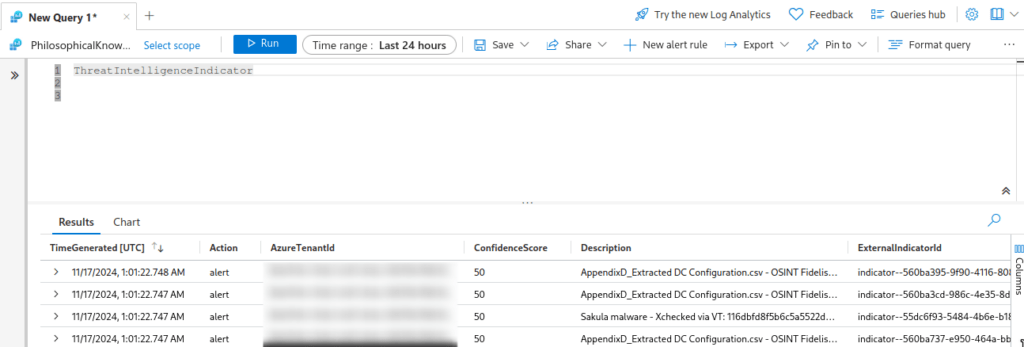
Well we can further look into that IP address and see what kind of activities the IP is doing.
For example, the IP address mentioned before is associated with an IP searching for WordPress REST API vulnerabilities.
We can use the following query to look at said data:
ThreatIntelligenceIndicator
| where NetworkSourceIP == "37.237.192.22"
| project TimeGenerated, SourceSystem, Action, Description, ConfidenceScore, ThreatType, Tags, ExpirationDateTime, NetworkSourceIP
| order by TimeGenerated desc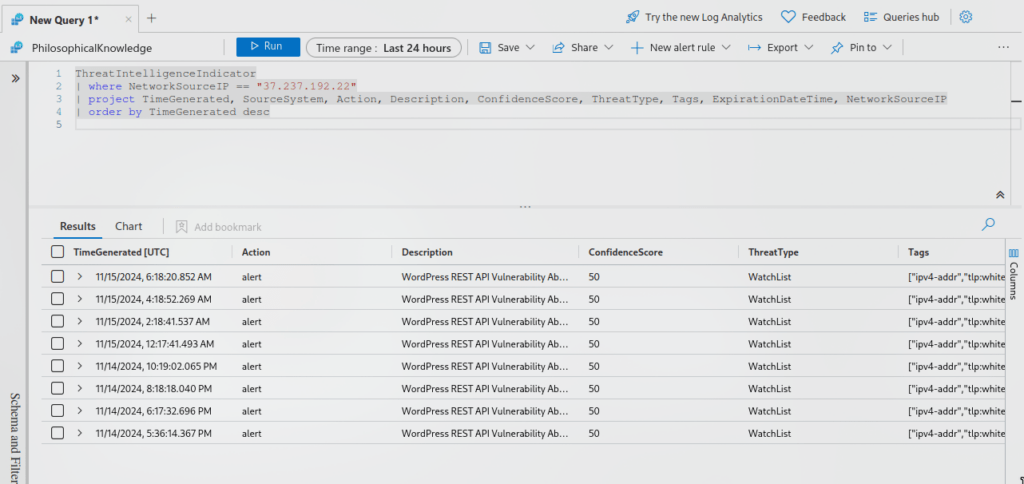
And now we know what our threat actor is searching for in our website.
Conclusion
In this post, we walked through the process of integrating MISP with Microsoft Sentinel to enhance threat intelligence capabilities.
We began by setting up an Ubuntu-based MISP instance on a Microsoft Azure VM by optionally using Docker. Then, we configured MISP to gather threat intelligence feeds.
Next, we configured the MISP2Sentinel Python script in an Azure Function App, allowing seamless integration of MISP data into Microsoft Sentinel. We walked through creating necessary API keys, configuring environment variables, and deploying the function. Finally, we validated the integration by checking the logs for data ingestion.
By following these steps, you now have a functioning MISP integration within Microsoft Sentinel to improve your threat detection and response.
I thank you for reading and I trust that this guide has proved useful
More Resources
If you didn’t understand something or you need some help, we have our own Discord community and I currently offer free coaching.
You can also leave us some feedback with what you did not understand and we will make sure to correct it.