Welcome to Logos Red, I go bylogos and:
Want to easily scan for vulnerabilities?
OpenVAS is a free, open-source vulnerability scanner and project manager. It’s easy to install, takes just a few commands on Kali Linux.
In this post, I’ll guide you through the general functionalities of OpenVAS and how to perform your first scan.
Don’t worry, I made it as simple as I could. Anyone can follow along.
My Promise
This post will finally end your meaningless search for a valid answer, and you will leave with a working installation of OpenVAS.
If there are still any questions left, let me know so I can add it to help the next person who will arrive here.
My Goal
To help you improve in less time than it took me and to make sure you leave with what I promised.
I want you to join our community and for this to be a place that you revisit often.
Requirements
- A Kali Linux machine: How to Import Kali Linux Into QEMU/KVM
Installing OpenVAS
The installation is really easy on Kali Linux; you just have to run the following command:
sudo apt install gvmOnce GVM is installed, we can set up OpenVAS with this simple command:
sudo gvm-setup
One issue that you might face is “/var/lib/gvm/feed-update.lock is locked by another process. Waiting 5 seconds before next try.”
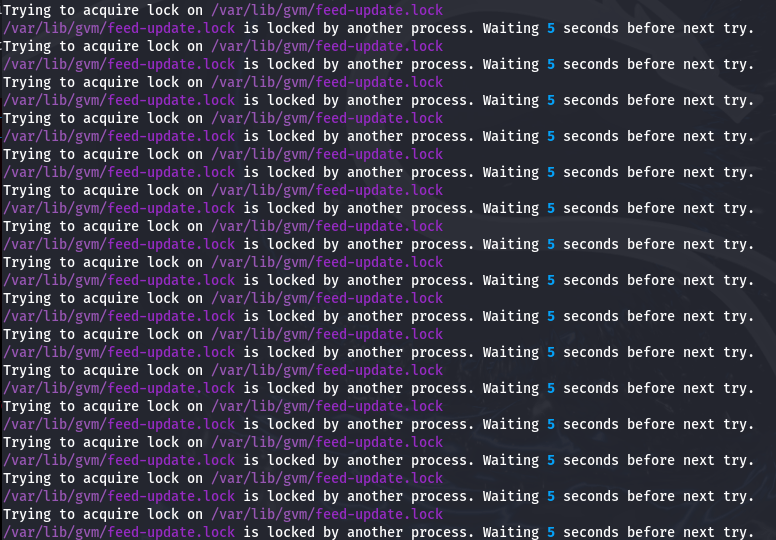
To fix this, you can wait or press <Ctrl> + <C> and then stop the gvmd daemon.
sudo systemctl stop gvmdThen run the following to start syncing again:
sudo greenbone-feed-sync
To check if everything is installed correctly:
sudo gvm-check-setup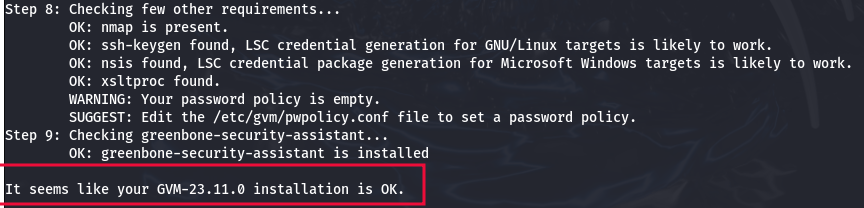
That should’ve automatically started OpenVAS; if not, run the following:
sudo gvm-startWhich should automatically open a browser window. If not, make sure to go to:
https://localhost:9392
Now go ahead and change your default password. To do so you can use the following command:
sudo -E -u _gvm -g _gvm gvmd --user=admin --new-password=<NEW_PASSWD>Executing the simple gvmd command does not work. At least in my experience.
Passwords that are too long may also not work; it takes a bit of guesswork with OpenVAS.
OpenVAS Layout
It might seem scary at first, but a lot of it is just analytics.
Configuration
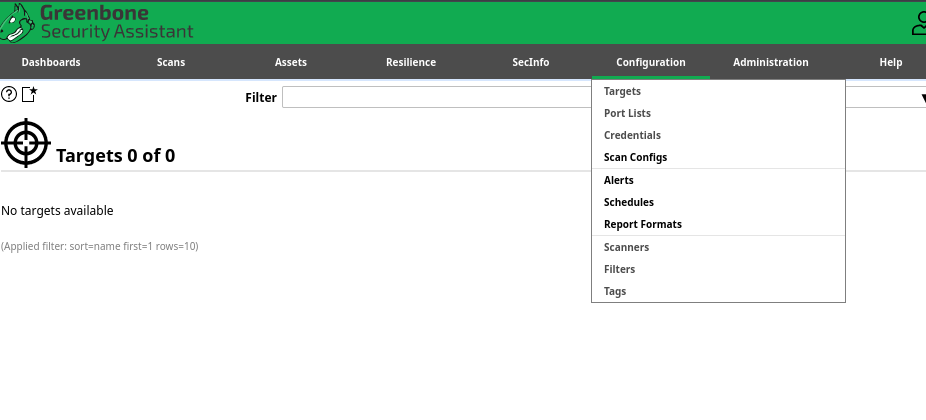
This is where you manage the client data that you’ve been given by the client (hosts, ports, credentials). You can enter them all here for safe-keeping.
If you want to customize the ports to scan or the OpenVAS scanner, you can do so here.
SecInfo

Under “SecInfo” you can see all the recent CVEs that OpenVAS has included.
NVT (Network Vulnerability Tests) are the tests that OpenVAS performs whenever you do a scan.
Resilience
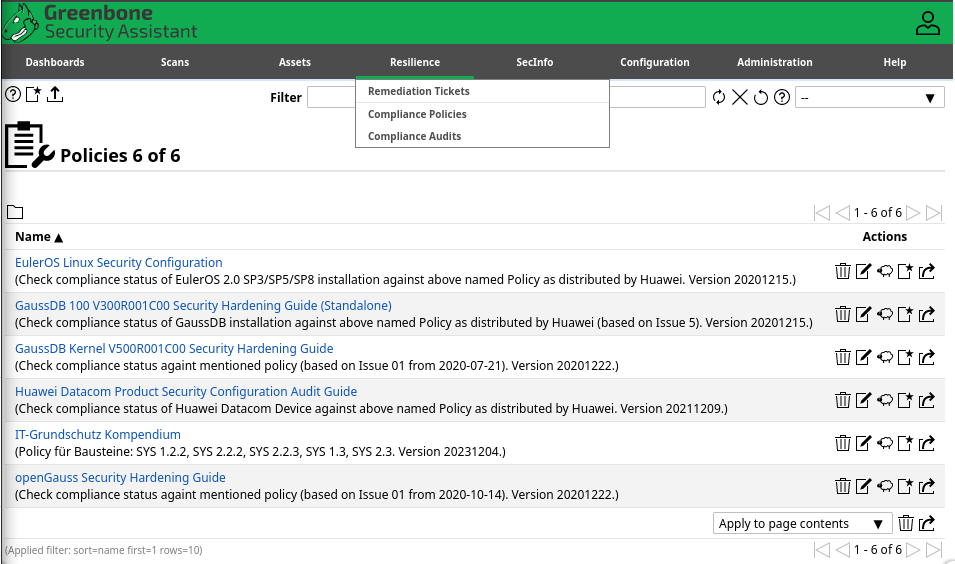
Under “Remediation Tickets” you can keep track of the CVEs that you have mitigated. If you want to do some compliance audits, albeit at a low level, you can do so here.
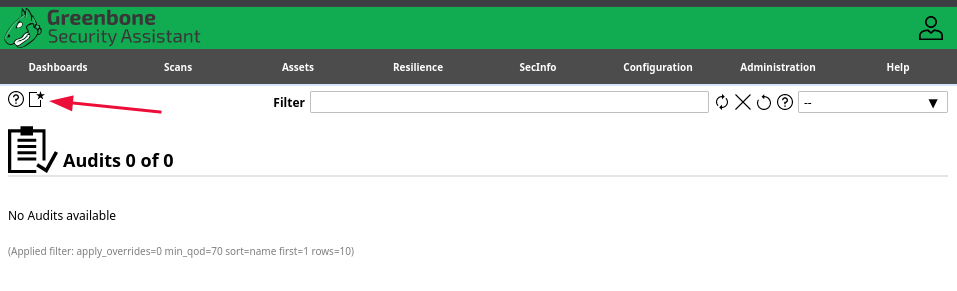
- Select “Compliance Audits”
- Click on “New Audit”
- You can leave everything on default, but add your “Scan Targets”

Changing the amount of NVTs per host depends on how stable the network is. You don’t want to accidentally cause a network outage.
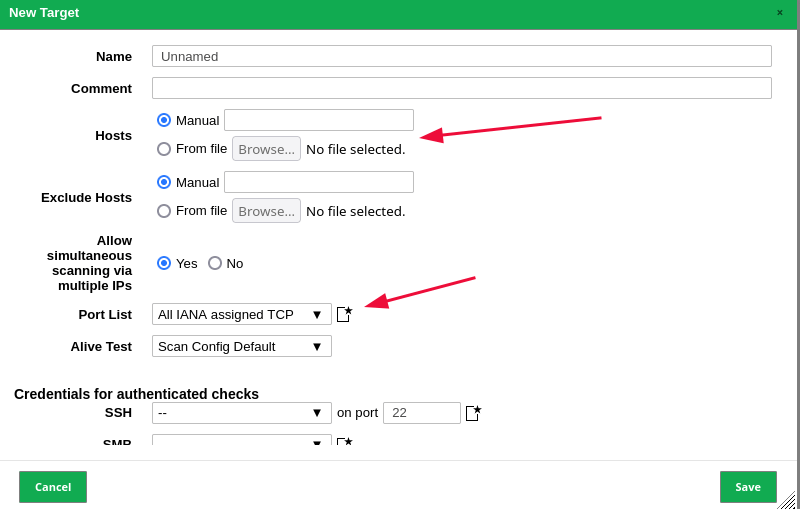
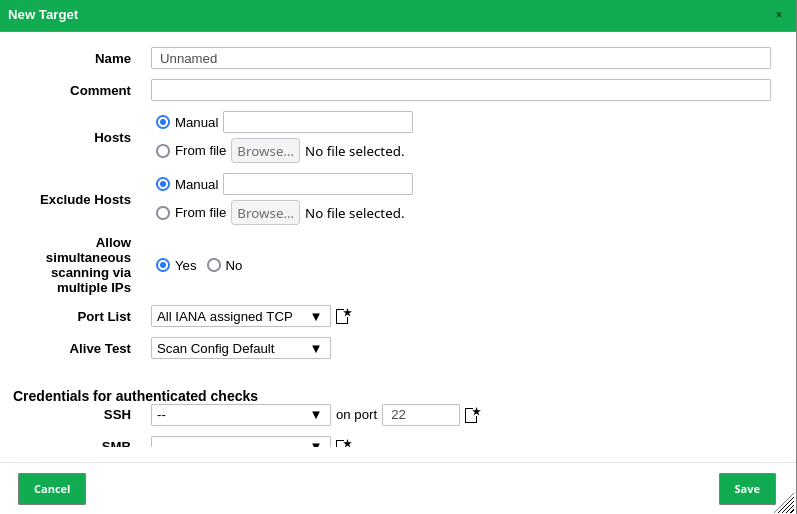
Under “Hosts” you can enter the hosts either manually or from a file and you can select the ports to scan.
Assets
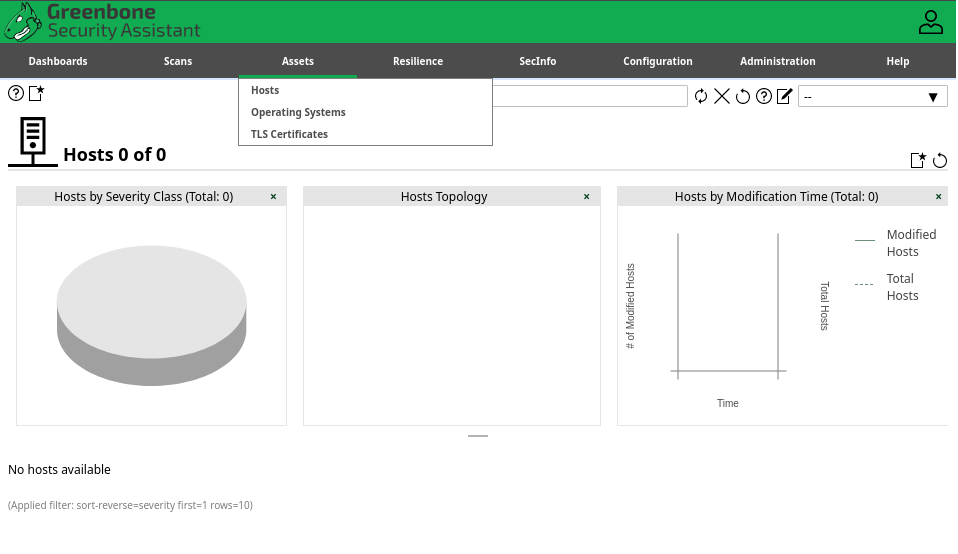
Once again, we have analytics. The Operating Systems, TLS certificates, and hosts that we have included in OpenVAS.
Scans
This is what we all came here today for, the scans section.
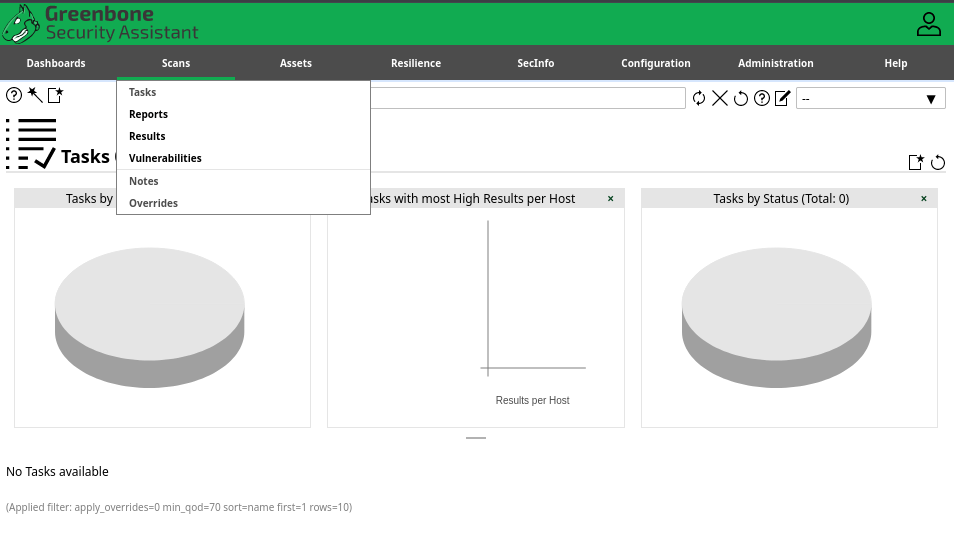
The main thing that we are interested in is “Tasks.” Everything else comes after the scans and as you can guess:
More analytics.
To perform a scan, go to Scans -> New Task
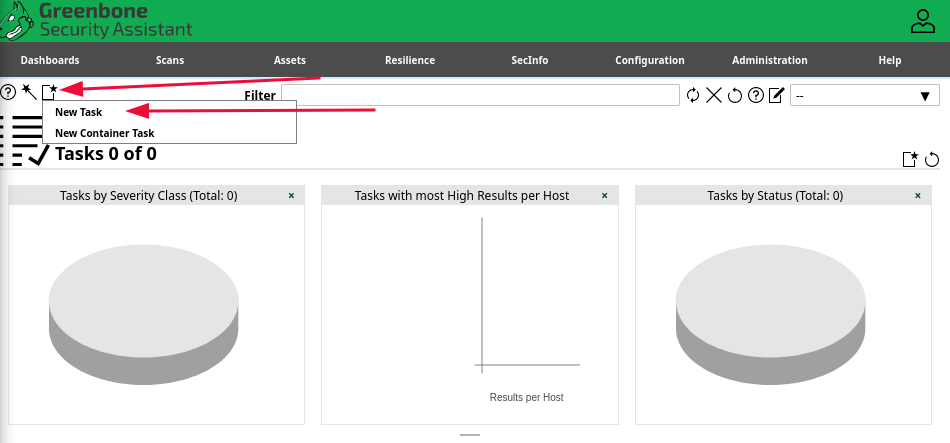
And you will be met with the following:
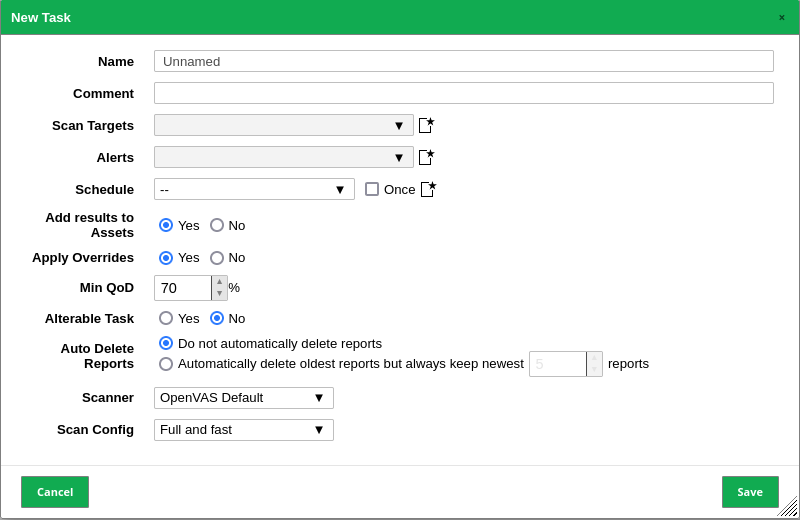
Everything can really be left on default; you can once again add your scan targets either manually or from a file.
For example you can sweep your subnet with Nmap. Then use a bit of text-fu to get all the IPs in a clean way.
sudo nmap -sn 192.168.122.0/24 -oG - | awk '/Up$/{print $2}' > ip_addresses.txt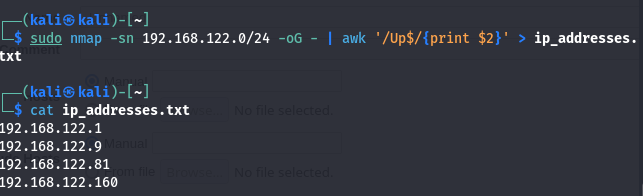
Another option to change is “QoD” (Quality of Detection); this sets how sensitive your scan is to false positives.
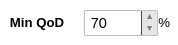
The higher the number, the less sensitive it is. This is a double-edged sword, meaning:
- If the QoD is too high, you might miss out on potential vulnerabilities.
- If the QoD is too low, you might get overwhelmed by false positives.
It’s best to do two scans: one with a high QoD and one with a low QoD, and then compare the results.
If you have the capability to do so, if not, leave the QoD at 70%.
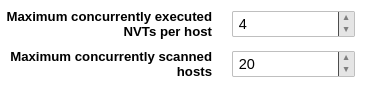
The concurrently executed and scanned hosts can be changed depending on the stability of the network and devices.

Click on “Save” once you are done.
And then the “Play” button.

And if you open Wireshark on one of the other devices you can see OpenVAS getting to work.

192.168.122.160 being my Kali machine and 192.168.122.81 being a Windows 11 Virtual Machine.
The length can depend on all the settings you’ve chosen and how powerful your machine is.

A simple all TCP scan on a Windows 11 machine took 10 minutes and found 1 medium vulnerability.
You can now go to “Assets” or “Reports” and see how the data has changed.
You’ve just performed your first OpenVAS vulnerability scan.
Congratulations.
Conclusion
In this guide, we covered everything from setting up OpenVAS on Kali Linux to running your first vulnerability scan.
We started with installation, moved through configuration tips, and explored different sections like SecInfo, Assets, and Scans to help you navigate the tool effectively.
Remember to adjust settings like QoD and scan targets based on your network’s stability and needs. Now, you should have a solid foundation to perform basic scans and interpret the results.
I thank you for reading and I trust that this guide has proved useful.
More Resources
If you didn’t understand something or you need some help, we have our own Discord community and I currently offer free coaching.
You can also leave us some feedback with what you did not understand and we will make sure to correct it.