Welcome to Logos Red, I go by logos and:
Want a new hacking Linux distro?
In this post we’ll take a break from Kali Linux and switch to an Arch-based penetration testing distro, known as BlackArch.
If you’re tired from how long apt takes to update or you’re simply looking for a new distro, I’ll help you install it from scratch.

My Promise
This post will finally end your meaningless search for a valid answer, and you will leave with BlackArch installed.
If there are still any questions left, let me know so I can add it to help the next person who will arrive here.
My Goal
To help you improve in less time than it took me and to make sure you leave with what I promised.
I want you to join our community and for this to be a place that you revisit often.
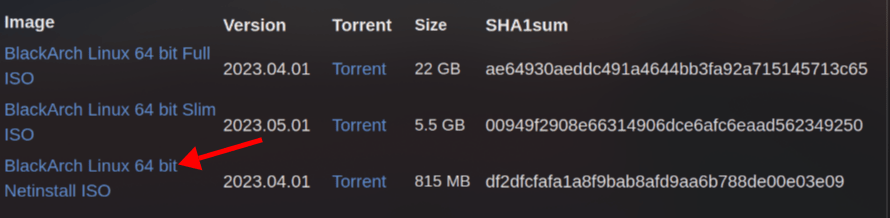
Downloading the ISO
Head over to https://blackarch.org/downloads and make sure to get the “netinstall ISO”
Once that’s downloaded, you can either flash it to a USB using dd or BalenaEtcher or import it into your VM.
If you’re installing in a VM I recommend changing your firmware interface to UEFI, not BIOS.
Installing BlackArch
Once you’re in the installation environment, the login credentials are: root:blackarch
The installation will be done through a wizard that will guide us along. Run the following command:
blackarch-install
Don’t worry about the top, that’s a pacman issue because the ISO isn’t connected to the internet. We’ll fix that in a bit.
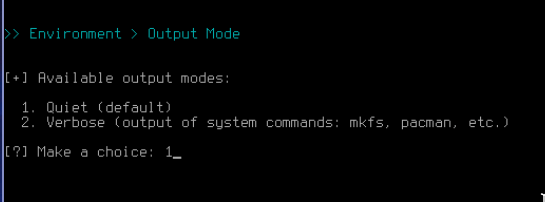
These are the exact numbers you have to type in
- 1 Install from the repository

- 1 Quiet
- 1 Set locale
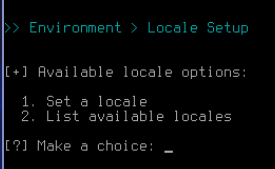
ENTER to leave it default else you can choose a different locale
- 1 Set a keymap
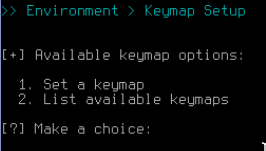
ENTER to leave it default else you can choose a different keymap and set your hostname as you wish.
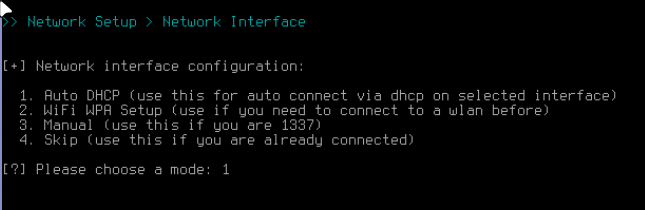
- 1 Auto DHCP
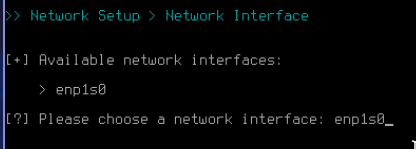
- Here make sure to select your correct network interface by typing it in
- And now is where we deviate from the official installation. We need to press <CTRL> + <C> to escape from the installer and update a tool.

And then once again type :
blackarch-install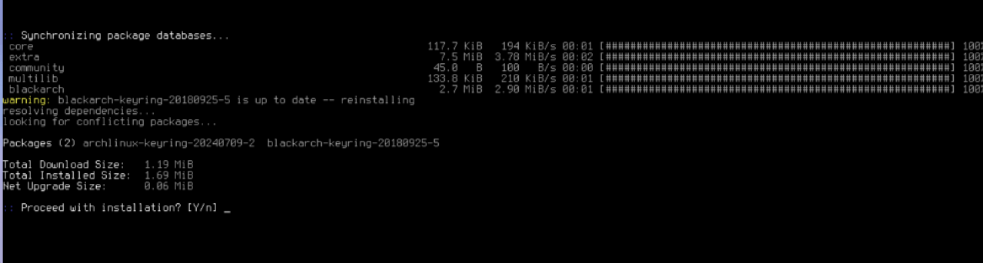
And press “y”, this will fix the chroot issue that happens if you don’t update the archlinux keyring.
chroot: failed to run command 'passwd': no such file or directory.And now repeat the same steps once again until you reach the same point.
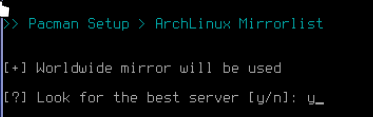
- y to look for the best server.
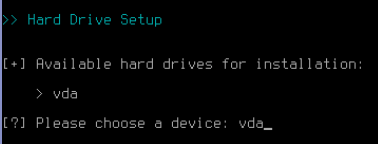
- Choose your disk
- y if you’re dual-booting.

- y to create partitions with cfdisk.

- y to start with an in-memory zeroed partition.
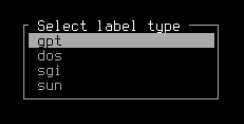
Here we’ll select the GPT label type because we’re using UEFI. If you’re using BIOS you can follow the official BlackArch installl for partitioning with DOS: https://blackarch.org/blackarch-install
I’ll be doing this on an empty disk so it’ll be different if you’re dual-booting.
In that case you need to use up the extra free space and not delete the old partitions. If you’re dual-booting BlackArch you should be familiar with how to hopefully.
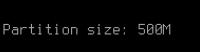
Create a new partition by pressing enter and make it 500M

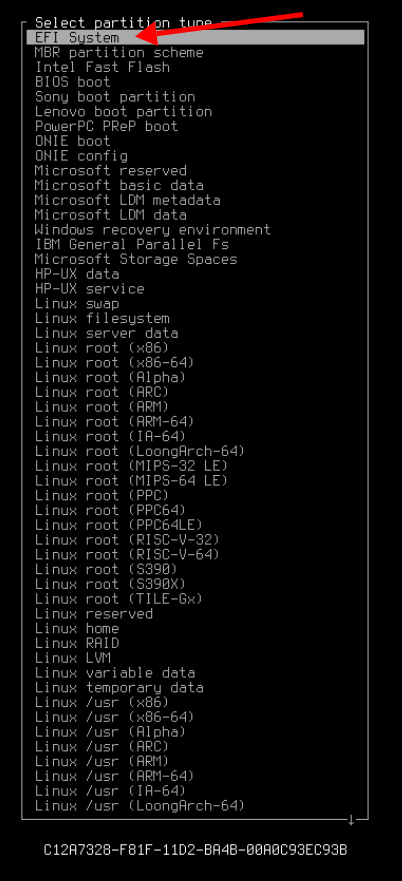
Go to type and change it to “EFI System”
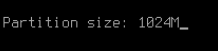
Select the green “Free space” and create another partition, this will be our swap. Swap really depends on how much RAM you have, and whether you’re using this in a VM or dual-booting.
https://itsfoss.com/swap-size/
Since I’m doing this in a VM with 8gb of RAM I’ll be allocating 1024M
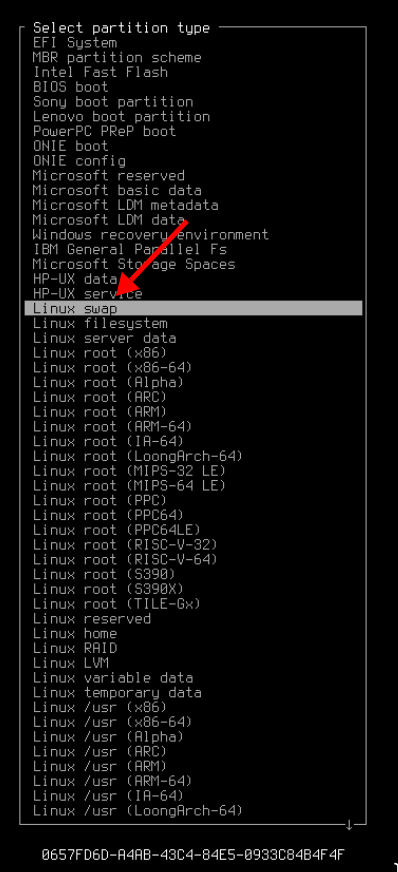
Make sure to select type and change it to “Linux Swap”
And now select the green “Free space” once again and press enter twice to allocate the rest of the space.
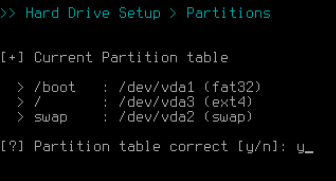
Your partition table should look like this:

Select “Write” and we can continue.

Type yes and then quit

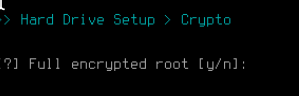
Here you can encrypt your drive with LUKS, which I highly recommend if you’re dual-booting.
Now we have to choose our partitions.
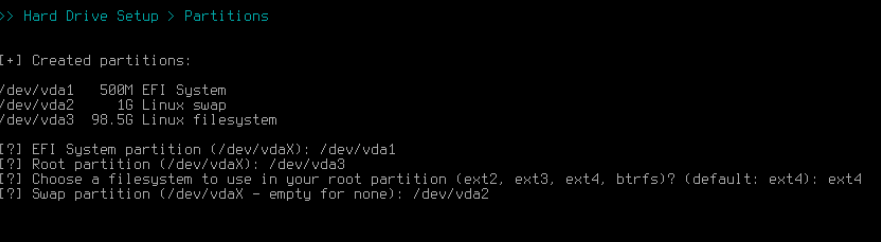
Make sure to put the root partition as ext4.
Make sure that you selected the right partitions and then type y.

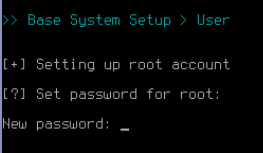
BlackArch will now install.
Select a password for your root account.
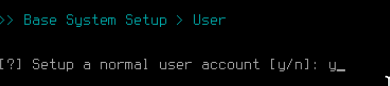
And create a normal user account.
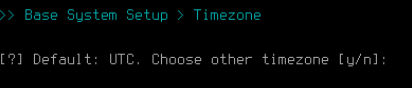
Choose your timezone or leave it as UTC:
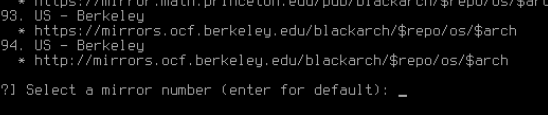
Leave the mirror as default unless you want one closer to your location.
And here you can select to setup a desktop environment or you can set one up later. I’ll be going without one as I’m setting up hyprland.
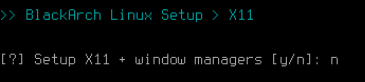
But you should probably choose “y” and go with i3.
If you’re inside VirtualBox or VMWare select “y” to setup the modules. I’m under KVM so I’ll skip those.

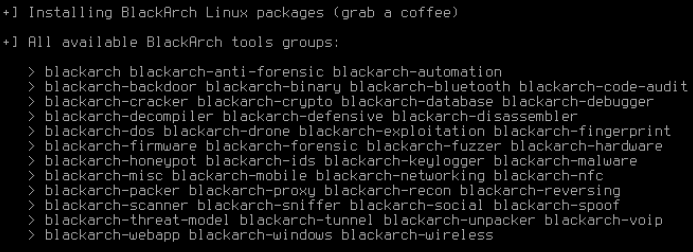
Here you can select to install the default BlackArch tools (over 1500) which might take some time. You can select which tool groups you want.
And now that we’re at the end, I just wanted to let you know that me and the BlackArch devs have completely owned your whole network and installed rootkits on every available device.

Don’t follow random tutorials on the internet.
I’m joking. Or am I?
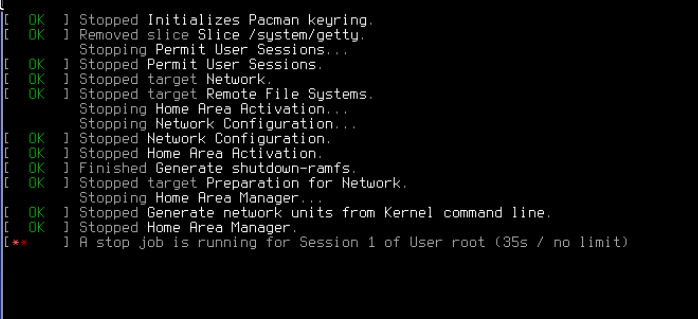
Type the following to reboot into your BlackArch system:
rebootYou might get a kernel stop job message, give it a minute and it’ll shut down.
And now you should be in your desktop environment or a tty depending on what you chose before in the install.

But you won’t have any internet. To enable the internet run the following:
su
bash -c 'echo -e "[Resolve]\nDNS=8.8.8.8\nFallbackDNS=1.1.1.1" > /etc/systemd/resolved.conf'
sudo ln -sf /run/systemd/resolve/resolv.conf /etc/resolv.conf
systemctl enable --now systemd-networkd
systemctl enable --now systemd-resolve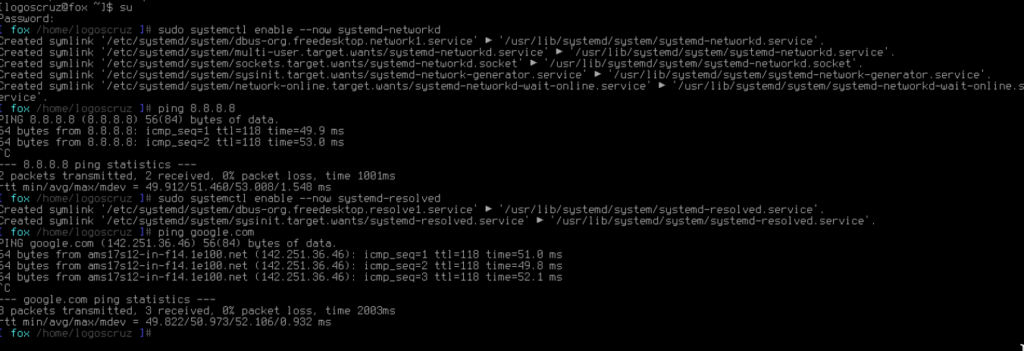
And we are done.
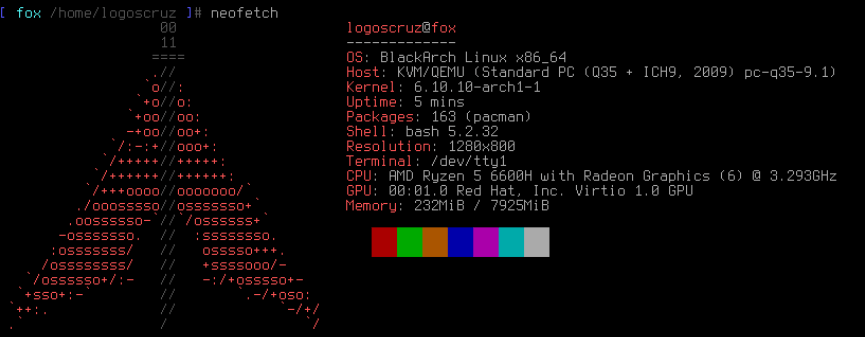
If you want a desktop like mine you’ll have to set up Hyprland separately.
Conclusion
In this tutorial, we looked at installing BlackArch, transitioning from Kali Linux to a robust Arch-based penetration testing distribution. We began by downloading the netinstall ISO and either flashing it to a USB or importing it into a virtual machine.
Next, we entered the installation environment and executed the blackarch-install command, navigating through essential setup steps, including configuring partitions with cfdisk, selecting the appropriate file system, and setting up swap space based on your system’s RAM. We also updated the Arch Linux keyring to avoid installation issues and ensured network connectivity by configuring DNS settings.
By following these steps, you should now have a fully operational BlackArch environment ready for penetration testing.
I thank you for reading, and I trust that this guide has proved useful.
More Resources
If you didn’t understand something or you need some help, we have our own Discord community and I currently offer free coaching.
You can also leave us some feedback with what you did not understand and we will make sure to correct it.